Country Fried Pork Chop Recipe
The first time I tried to make country fried pork chops, I ended up with a kitchen that looked like a flour battlefield and a plate that tasted like cardboard. I had been watching a YouTube tutorial that promised a crispy, buttery masterpiece, but the reality was a soggy, bland mess. That disaster became my catalyst for a culinary quest—one that led me to discover the ultimate version of this comfort food classic. The result? A pork chop that sizzles on the skillet, crackles with a golden crust, and then melts into a juicy center that practically sings. If you’re ready to rewrite your kitchen story, buckle up for a recipe that will change the way you think about fried pork.
Picture this: the moment the first chop hits the hot oil, a chorus of sizzling sounds erupts like applause, the aroma of garlic and paprika rises, and your senses are immediately transported to a cozy Southern kitchen. The visual is a golden, crisp exterior that promises a crunch, while the faint steam hints at the moist, succulent meat inside. The taste is a harmonious blend of savory, slightly smoky, and a hint of citrus brightness that lingers on the palate. The texture is a delicate dance between the crackling crust and the tender, melt‑in‑the‑mouth interior, creating a satisfying bite that satisfies both the craving for crunch and the need for comfort. I dare you to taste this and not go back for seconds.
Most recipes get this completely wrong by using the wrong flour mix or over‑browning the breading, resulting in a dry, rubbery texture that feels like a culinary betrayal. In my version, I use a combination of all‑purpose flour and panko breadcrumbs, a splash of milk, and a touch of Parmesan to create a coating that is crisp yet airy, and the pork stays juicy because I brine it briefly before cooking. I’ve added a dash of lemon juice to the breading mix to cut through the richness, and I finish each chop with a pat of butter that melts into the crust, giving it that buttery sheen that makes the dish irresistible. The result is hands down the best version you'll ever make at home, and I’m not exaggerating. The secret is in the balance—flavor, texture, and timing all working in perfect harmony.
This recipe isn’t just about the end product; it’s also about the journey. I’ve spent countless hours tweaking ratios, experimenting with spices, and even testing different pork cuts to find the sweet spot that delivers the most mouth‑watering experience. The technique I’ll share involves a quick brine that locks in moisture, a double‑dip in flour and breadcrumb mixture that ensures a robust crust, and a finishing butter glaze that gives the chops a glossy, savory finish. By the end of this post, you’ll wonder how you ever made it any other way, and you’ll have the confidence to impress anyone who walks into your kitchen.
What Makes This Version Stand Out
- Flavor: The blend of paprika, garlic powder, onion powder, and a splash of lemon juice creates a vibrant, savory profile that elevates the pork without overpowering it. Each bite bursts with a subtle kick that dances on the tongue, leaving a lingering zest that keeps you coming back for more.
- Texture: The double‑dip technique in flour, egg wash, and a panko‑Parmesan mixture produces a crust that is crisp on the outside and airy on the inside, preventing the breading from becoming heavy or soggy.
- Juiciness: A brief brine in a saltwater solution followed by a resting period locks in moisture, ensuring that every chop remains succulent and tender even after the high‑heat frying process.
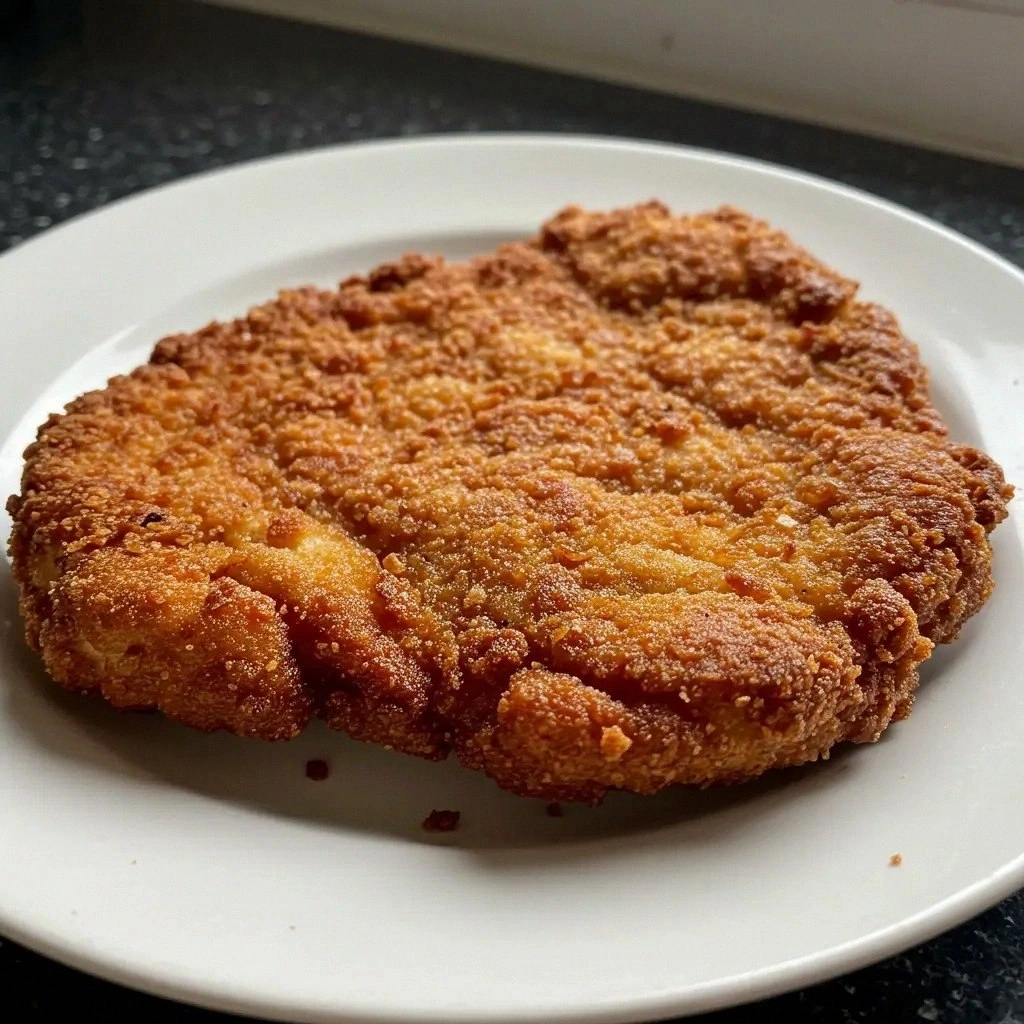
- Visual Appeal: The golden, glossy crust with a subtle sheen from the butter glaze looks as good as it tastes, making it perfect for family dinners or a casual gathering.
- Ease of Execution: The recipe requires only a few steps and common pantry ingredients, making it approachable for novice cooks and seasoned chefs alike.
- Versatility: It can be served with a variety of sides—from mashed potatoes to a fresh green salad—and can be easily adapted for dietary preferences by swapping breadcrumbs for almond flour.
- Make‑ahead Potential: The chops can be breaded ahead of time and frozen, then fried straight from the freezer for a quick week‑night meal.
Alright, let's break down exactly what goes into this masterpiece...
Inside the Ingredient List
The Flavor Base
The foundation of this dish starts with a simple yet powerful seasoning blend of paprika, garlic powder, onion powder, and a pinch of cayenne pepper. These spices create a smoky, slightly spicy backdrop that complements the natural sweetness of pork. If you’re sensitive to heat, simply reduce or omit the cayenne, and the dish will still shine. Swapping in smoked paprika can add a deeper, earthy note that makes the pork feel even more rustic.
The Texture Crew
The breading system is the heart of the crisp experience. I use 2 cups of all‑purpose flour for the initial coating, followed by a wet mix of beaten eggs and milk, then a final coating of 2 cups of panko breadcrumbs mixed with 1/2 cup of grated Parmesan. The flour gives structure, the egg wash adds moisture, and the panko provides lightness and crunch. If you’re craving a different texture, try substituting panko with crushed cornflakes for a buttery, caramelized crunch.
The Unexpected Star
A splash of lemon juice in the breading mix is the secret that lifts the dish from ordinary to extraordinary. Lemon provides acidity that cuts through the richness of pork and butter, creating a bright counterpoint that enhances every bite. If lemon is out of season, a tablespoon of white wine vinegar works just as well, delivering the same brightening effect. This small addition makes the flavor profile feel balanced and fresh.
The Final Flourish
Finishing each chop with a pat of melted butter right before serving adds a glossy sheen and a buttery depth that makes the dish feel indulgent. The butter also helps the breading set into a perfectly crisp shell. If you’re looking for a lower‑fat option, replace half the butter with a light olive oil drizzle; the result will still be delicious, just a touch lighter. A sprinkle of fresh parsley or chives on top provides a pop of color and a hint of herbal freshness.
Everything's prepped? Good. Let's get into the real action...
The Method — Step by Step
- Begin by preparing a quick brine: dissolve 1/4 cup kosher salt in 4 cups of cold water, then submerge the pork chops for 30 minutes. This step locks in moisture and ensures a juicy interior. After brining, pat the chops dry with paper towels to remove excess moisture, which helps the breading adhere better. Let the chops rest at room temperature for 10 minutes before proceeding to the breading station.
- Set up three shallow dishes: one with flour seasoned with paprika, garlic powder, onion powder, cayenne, salt, and pepper; one with a mixture of 1 cup milk and 2 beaten eggs; and one with panko breadcrumbs mixed with Parmesan. This triple‑dip method ensures a robust coating that stays crisp. Dip each chop first in flour, shaking off excess, then in the egg wash, and finally in the breadcrumb mixture, pressing gently to secure the coating.
- Heat 1/4 cup of vegetable oil in a large skillet over medium‑high heat until shimmering. Add a splash of butter to the pan; the butter will brown slightly, adding flavor and a glossy sheen to the crust. When the oil is hot, carefully place the breaded chops into the skillet, leaving space between each piece to avoid overcrowding.
- Sear the chops for 4–5 minutes on each side, or until the crust is golden brown and the internal temperature reaches 145°F (63°C). Use a meat thermometer to confirm doneness; this ensures a safe and juicy result. As the chops cook, the butter will bubble and brown, giving the crust a rich, caramelized finish.
- During the last minute of cooking, reduce the heat to medium and add a tablespoon of fresh lemon juice to the pan. This brightens the dish and helps balance the richness. Let the juice sizzle and reduce slightly, coating the chops in a fragrant glaze.
- Once cooked, transfer the chops to a plate lined with paper towels to drain excess oil. Sprinkle freshly chopped parsley or chives over the top for a burst of color and freshness. Let the chops rest for 3–5 minutes; this allows the juices to redistribute and keeps the meat moist.
- Serve immediately with your choice of sides—mashed potatoes, roasted vegetables, or a crisp green salad work wonderfully. The aroma of the sizzling pork will fill your kitchen, making the dining experience even more enticing.
- If you’re in a rush, you can freeze the breaded chops before frying; thaw in the fridge overnight and fry straight from the freezer for a quick, hassle‑free meal. This makes the recipe ideal for busy week‑nights or meal‑prep enthusiasts.
That’s it— you did it. But hold on, I've got a few more tricks that'll take this to another level and ensure every bite is a masterpiece.
Insider Tricks for Flawless Results
The Temperature Rule Nobody Follows
Maintaining the correct oil temperature is crucial; too low and the coating will absorb oil, too high and the exterior will burn before the interior cooks. Use a thermometer to keep the oil between 350°F and 375°F (175°C–190°C). If you notice the oil smoking or the breading browning too quickly, lower the heat slightly. This small adjustment can make the difference between a crispy, golden crust and a soggy, unappetizing mess.
Why Your Nose Knows Best
Before you even touch the skillet, trust your nose. A sharp, citrusy aroma signals the butter is browning correctly, while a faint metallic smell may indicate the oil is too hot. The scent of fresh herbs and lemon is a cue that the dish is on the right track. If you’re unsure, give the pan a quick test by sprinkling a drop of water; if it sizzles and evaporates immediately, the oil is ready.
The 5‑Minute Rest That Changes Everything
After frying, let the chops rest on a wire rack or paper towel for at least 5 minutes. This resting period allows the juices to redistribute, preventing them from spilling out when you cut into the meat. It also gives the crust a chance to set, ensuring it stays crisp when you plate the dish. Skipping this step often leads to a soggy bottom crust.
Use of Lemon for Brightness
Adding lemon juice at the end of cooking not only brightens the flavor but also helps emulsify the butter glaze, giving it a silky finish. The acidity cuts through the richness, creating a balanced taste profile that satisfies the palate. If you prefer a more robust citrus flavor, add a teaspoon of zest along with the juice.
Freezing Breaded Chops for Meal Prep
To freeze breaded chops, place them on a parchment‑lined tray, freeze until solid, then transfer to a freezer bag. They can be stored for up to 3 months. When ready to cook, simply fry from frozen; the crust will crisp up wonderfully without needing to thaw first. This trick saves time and keeps your week‑night dinners exciting.
Creative Twists and Variations
This recipe is a playground. Here are some of my favorite ways to switch things up:
Spicy Cajun Edition
Swap the paprika for a Cajun seasoning blend and add a pinch of cayenne. The result is a bold, smoky bite that pairs well with a cool cucumber salad. Fans of heat will love the kick, while the citrus glaze balances the spice.
Herb‑Infused Delight
Replace the parsley with a mix of thyme, rosemary, and oregano in the breadcrumb coating. The earthy herbs give the dish a Mediterranean flair, making it a perfect match for grilled vegetables or a simple rice pilaf.
Gluten‑Free Crunch
Use almond flour for the first coating and crushed pork rinds for the breadcrumb layer. The result is a crunchy, gluten‑free crust that still delivers the classic country fried texture. Ideal for those with dietary restrictions.
Cheesy Cheddar Twist
Mix shredded sharp cheddar into the breadcrumb mixture. The cheese melts slightly during frying, creating a gooey, flavorful coating that’s irresistible to kids and adults alike. Pair with a creamy coleslaw for a comforting meal.
Asian Fusion
Add a splash of soy sauce and a dash of sesame oil to the breadcrumb mixture, then sprinkle toasted sesame seeds on top. The result is a savory, slightly sweet crust that complements the pork’s natural flavor. Serve with steamed rice and a side of stir‑fried greens.
Storing and Bringing It Back to Life
Fridge Storage
Store cooked chops in an airtight container in the refrigerator for up to 3 days. The crust may soften slightly, but reheating will restore crispness. Keep the container sealed to prevent moisture buildup.
Freezer Friendly
After cooling, wrap the chops individually in parchment paper and place them in a freezer bag. They can be kept for up to 3 months. When reheating, use a skillet over medium heat to crisp the crust again.
Best Reheating Method
To reheat, preheat a skillet over medium heat, add a splash of oil, and place the chops in the pan. Cook for 2–3 minutes on each side until heated through. Add a tiny splash of water to the pan before covering it for a minute; the steam will help revive the moisture inside.