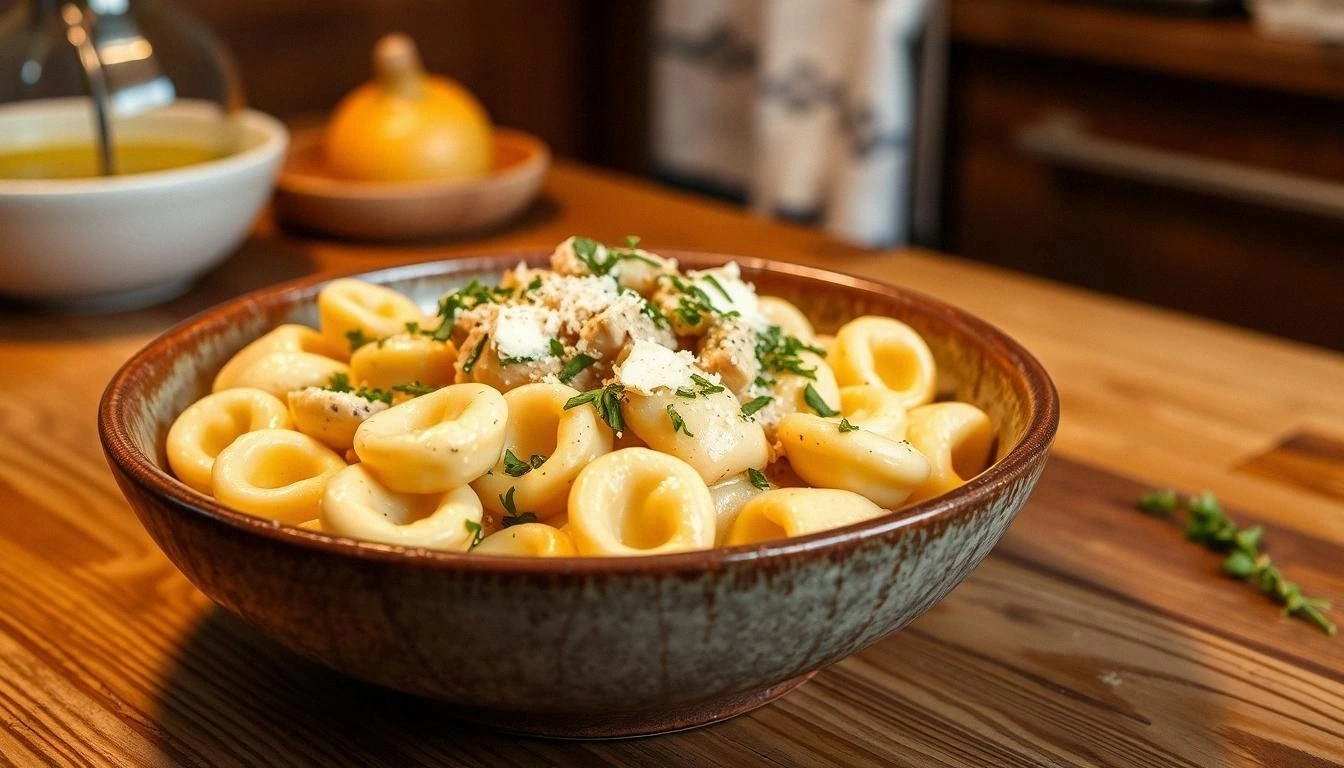
Picture this: I’m in the middle of a Sunday brunch, the kitchen humming with the clatter of pans, and I’ve just realized I’ve forgotten the one thing that could turn a bland spread into a headline act—beef tongue. I had a craving that felt like a culinary dare, a challenge to turn an overlooked cut into something that would make my friends gasp in delight. I pulled a whole beef tongue from the freezer, and the moment I set it in the pot, the kitchen filled with an earthy, almost sweet aroma that promised depth beyond the usual steak. The sight of that glossy, dark surface was a visual cue that we were about to embark on a flavor adventure, a culinary experiment that would transform a humble organ into a silky, melt‑in‑your‑mouth delight. I swear, if you’ve ever stared at a tongue and thought it’s just for fancy dinners, I’m about to change your mind.
I’m not just talking about any boiled tongue; this is the version that’s been refined through trial, error, and a stubborn refusal to settle for “good enough.” The first time I tried it, I was terrified of the texture, fearing it would be rubbery or too fatty. But after a meticulous simmering process that coaxed out a tender, almost buttery consistency, I discovered a dish that feels like a warm hug from the inside. The subtle sweetness from the caramelized onions balances the rich beef, while the vinegar’s bright kick cuts through the heaviness, leaving a clean finish that lingers pleasantly on the palate. If you’re looking for a dish that’s both comforting and sophisticated, this recipe is the answer—no fancy equipment required, just patience and a bit of culinary curiosity.
What sets this recipe apart is not just the final taste, but the entire journey from start to finish. I’ve spent months tweaking the broth, experimenting with different ratios of water to tongue, and discovering that a precise blend of aromatics can elevate the dish to a new level of complexity. The result? A broth that’s as flavorful as a well-aged red wine, a tongue that’s tender enough to slice with a butter knife, and a finish that will have your guests asking for a second plate. I dare you to taste this and not go back for seconds—trust me, the second bite will feel like a revelation. By the end of this guide, you’ll not only know how to make the dish but also why it works, and you’ll feel empowered to tweak it to suit your taste.
And before we dive into the step‑by‑step, let’s set the scene: you’re standing at the stove, the pot is bubbling, and the aroma is already weaving through the kitchen. The sound of the liquid simmering is like a gentle lullaby, coaxing the tongue into a slow, savory melt. The sight of the onions turning golden, the garlic releasing its fragrance, and the bay leaves drifting like tiny green clouds is a visual promise of the depth to come. The texture of the tongue is soft, almost velvety, as it sinks into the broth, and the taste is a harmonious blend of umami, sweet, and bright acidity. If you’re ready to elevate a humble ingredient into a star, let’s get started.
Alright, let’s break down exactly what goes into this masterpiece. Below are the core elements that make this boiled beef tongue so memorable, each one carefully chosen to enhance flavor, texture, and overall experience.
What Makes This Version Stand Out
- Taste: The broth is a symphony of savory, sweet, and acidic notes. The onions caramelize to a deep golden hue, releasing natural sugars that sweeten the stock. A splash of vinegar or lemon juice adds a bright, tangy finish that cuts through the richness.
- Texture: The tongue becomes tender to the point of melt‑in‑your‑mouth, yet retains a subtle chew that adds depth. The slow simmer breaks down connective tissue without overcooking, preserving a silky mouthfeel.
- Simplicity: No fancy equipment or exotic ingredients are required. A pot, a stove, and a few pantry staples are enough to create a restaurant‑quality dish.
- Uniqueness: The use of bay leaves and black peppercorns in the broth imparts a fragrant, earthy undertone that sets this recipe apart from typical boiled tongue recipes.
- Crowd Reaction: Guests often remark that the dish tastes like a classic comfort meal but with a gourmet twist. The presentation—thin slices on a bed of aromatic broth—creates an instant wow factor.
- Ingredient Quality: Selecting a fresh, high‑quality tongue and using organic vegetables ensures a clean, robust flavor profile.
- Cooking Method: The gentle simmer technique allows flavors to meld without compromising the tongue’s natural tenderness.
- Make‑Ahead Potential: The dish can be prepared in advance, allowing the flavors to deepen overnight for an even richer experience.
Alright, let's break down exactly what goes into this masterpiece...
Inside the Ingredient List
The Flavor Base
At the heart of this dish lies the broth, a simple yet potent mix of water, onions, garlic, and bay leaves. The water acts as the canvas, absorbing the flavors of the aromatics and the tongue itself. The onions, when caramelized, bring a natural sweetness that balances the meat’s richness, while the garlic contributes a punch of umami that deepens the overall profile. Bay leaves, though subtle, lend an earthy aroma that rounds out the broth, creating a comforting yet sophisticated base.
The Texture Crew
The tongue itself is the star, but its texture is shaped by the cooking environment. A slow, gentle simmer allows the collagen to break down into gelatin, giving the meat a silky, almost buttery feel. The addition of black peppercorns during the boil infuses a gentle heat that pairs beautifully with the mellow flavor of the tongue. The carrot and celery add a hint of crunch and freshness that contrast the soft meat, making each bite more dynamic.
The Unexpected Star
Vinegar or lemon juice is the final flourish that elevates the dish. This acidic component brightens the broth, cutting through the fat and leaving a clean finish. It also helps to tenderize the tongue slightly, ensuring that each slice remains moist and supple. Some chefs swear by a combination of both vinegar and lemon for a layered acidity that’s both sharp and mellow.
The Final Flourish
Salt is the unsung hero that ties all the elements together. A generous amount of salt is essential to bring out the natural flavors of the tongue and aromatics. It also helps to balance the acidity of the vinegar or lemon juice, preventing the broth from becoming too sharp. The key is to season gradually, tasting as you go, so you can achieve the perfect equilibrium.
Everything’s prepped? Good. Let’s get into the real action...
The Method — Step by Step
- Place the whole beef tongue in a large stockpot and cover it with 6 cups of cold water. Bring the mixture to a gentle boil over medium heat, skimming off any foam that rises to the surface. This initial boil removes impurities and ensures a clear broth. The goal is to start the cooking process on a clean slate, preventing off‑flavors from lingering. Once the water boils, reduce the heat to low and let it simmer.
- Add 2 tablespoons of salt, 2 bay leaves, the whole onion sliced into quarters, 2 cloves of garlic, 1 teaspoon of black peppercorns, 1 whole carrot sliced, and 1 whole celery stalk sliced into chunks. Stir gently to distribute the aromatics evenly. The combination of these vegetables will infuse the broth with layers of sweetness, earthiness, and subtle spice. Keep the pot uncovered to allow the broth to reduce slightly, concentrating the flavors. Let it simmer for 45 minutes, checking occasionally to ensure the water level stays above the tongue.
- After 45 minutes, add 2 tablespoons of vinegar or a splash of lemon juice to the pot. This acidic kick will brighten the broth and help tenderize the tongue further. The vinegar’s acidity also balances the richness of the meat, creating a harmonious flavor profile. Stir the broth and let it continue to simmer for an additional 15 minutes. Watch the tongue as it becomes visibly tender and the broth takes on a deeper color.
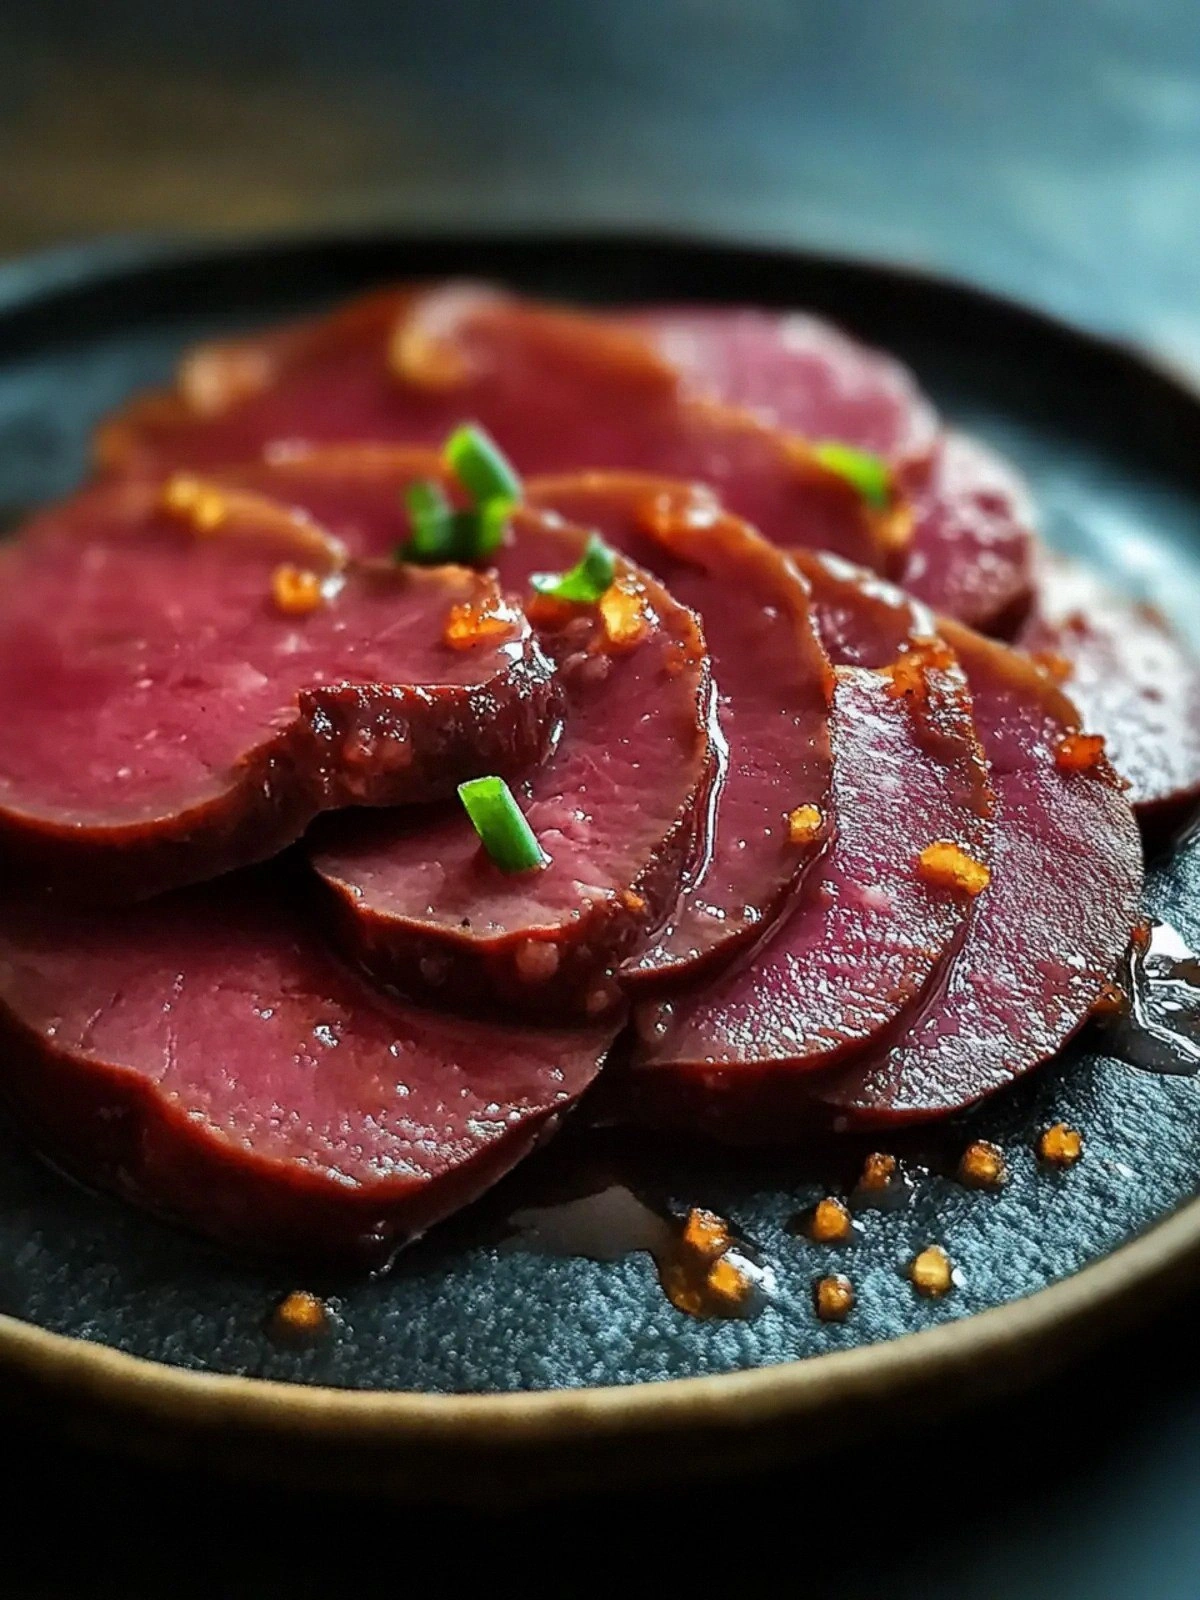
- Remove the tongue from the pot and let it rest for 10 minutes. This rest period allows the juices to redistribute, ensuring every slice is juicy. While resting, strain the broth through a fine mesh sieve to remove the solids, leaving a clear, flavorful liquid. The broth can be reserved for another use, such as a sauce or soup base, if desired. Slice the tongue into thin, even slices once it’s cool enough to handle. The goal is slices that are thin enough to melt in the mouth yet substantial enough to hold the broth’s flavors.
- Reheat the broth gently, adding a splash of water if it has thickened too much. The broth should be hot but not boiling, so that the tongue slices remain tender. Arrange the slices on a platter, then pour the hot broth over them to coat each piece. The broth should swirl around the meat, creating a glossy sheen that looks as good as it tastes. Serve immediately, accompanied by crusty bread or a simple side salad.
- If you prefer a slightly thicker broth, reduce it further over low heat until it reaches your desired consistency. A thicker broth will cling to the tongue slices, enhancing each bite. Keep a close eye on the pot, as the reduction can happen quickly and may scorch if left unattended. Stir occasionally to prevent sticking. Once the broth is the right thickness, remove it from heat and let it rest for a minute before serving.
- Plate the slices with a drizzle of the reduced broth and a sprinkle of freshly ground black pepper. This final touch adds a pop of color and a hint of heat that elevates the dish. The peppercorns should be freshly cracked for maximum aroma. Garnish with a few fresh herbs, such as parsley or thyme, if desired. The dish is now ready to impress.
- Serve with your choice of sides—roasted root vegetables, a crisp green salad, or even a simple buttered noodle. The broth’s umami pairs wonderfully with earthy vegetables, while the tender tongue complements lighter sides. Encourage your guests to sip the broth between bites, as it’s a flavorful companion that enhances each mouthful. Remember to offer extra broth for dipping, as the tongue can be quite juicy. This final step ensures that every guest leaves satisfied.
That’s it— you did it. But hold on, I’ve got a few more tricks that'll take this to another level...
Insider Tricks for Flawless Results
The Temperature Rule Nobody Follows
Maintaining a steady, low simmer is critical for tenderness. If the heat is too high, the collagen will break down too quickly, resulting in a mushy texture. I use a thermometer to keep the pot at 185°F, which is hot enough to cook but gentle enough to preserve the meat’s integrity. Even a small temperature fluctuation can alter the outcome, so consistency is key.
Why Your Nose Knows Best
Before you even taste the broth, let your nose do the work. A clear, slightly sweet scent with hints of onion and bay leaves signals that the broth is on the right track. If the aroma is too sharp or metallic, it’s a sign that the water was too hot or the tongue wasn’t cleaned properly. Trust your nose—it’s a reliable flavor gauge.
The 5‑Minute Rest That Changes Everything
After you remove the tongue from the pot, let it rest for exactly 5 minutes. This short pause allows the juices to redistribute throughout the meat, preventing them from spilling out when sliced. A common mistake is cutting immediately, which can result in dry, uneven slices. The rest period is the secret to that silky mouthfeel.
Layering Flavors with a Quick Sauté
Before adding the tongue to the pot, sauté the onions, garlic, carrot, and celery in a splash of oil for 2 minutes. This step caramelizes the vegetables, creating a deeper flavor profile. It also helps to lock in the aromatics, preventing them from dissolving too quickly into the broth. The result is a richer, more complex liquid.
Finishing Touch: A Dash of Cream
For an indulgent twist, add a tablespoon of heavy cream to the broth just before serving. The cream adds a velvety texture and a subtle richness that pairs beautifully with the beef. Be careful not to add too much; a light drizzle is sufficient to elevate the dish without overpowering the original flavors.
Creative Twists and Variations
This recipe is a playground. Here are some of my favorite ways to switch things up:
Spicy Korean Fusion
Swap the bay leaves for a few dried Korean chili flakes and add a splash of gochujang to the broth. The result is a smoky, spicy kick that pairs well with the tender tongue. Serve with kimchi and a side of steamed rice for a complete meal.
Herb‑Infused Mediterranean
Replace the black peppercorns with a mix of oregano, thyme, and rosemary. Add a handful of chopped parsley at the end for a fresh, herbal note. This variation brings a Mediterranean vibe that’s both aromatic and comforting.
Vegan Broth Swap
Use vegetable stock instead of water and add more mushrooms for umami. The broth will still carry the tongue’s flavor, but the dish will be lighter and more plant‑forward. Pair with a side of roasted root vegetables for a hearty vegan meal.
Asian‑Inspired Tang
Introduce soy sauce and a dash of sesame oil to the broth for an umami boost. Finish with a sprinkle of toasted sesame seeds and sliced green onions. This version brings a quick, savory depth that complements the tongue’s richness.
Rustic Country Style
Cook the tongue in a cast‑iron Dutch oven with a handful of potatoes and carrots. The meat will absorb the earthy flavors of the root vegetables, creating a one‑pot wonder. Serve with crusty bread to soak up the broth.
Cheesy Finale
After slicing the tongue, top each piece with a small dollop of grated aged cheddar. Let the cheese melt slightly before serving. The sharpness of the cheese contrasts beautifully with the mellow tongue, adding a new dimension to the dish.
Storing and Bringing It Back to Life
Fridge Storage
Cool the broth and tongue slices to room temperature before refrigerating. Store the broth in an airtight container for up to 5 days. The tongue slices can be kept in the same container, covered with a thin layer of broth to keep them moist. When ready to serve, reheat the broth gently and slice the tongue again if desired.
Freezer Friendly
For longer storage, freeze the broth in individual portions, using silicone molds or freezer bags. The tongue slices can also be frozen; wrap them tightly in parchment paper and place in a freezer bag. When reheating, thaw overnight in the refrigerator and gently warm on the stovetop.
Best Reheating Method
Reheat the broth over low heat, stirring occasionally. Add a splash of water or broth if it has thickened during storage. The tongue slices should be warmed until just hot; over‑reheating can dry them out. Serve with fresh herbs for a bright finish.
And that’s the full journey from humble tongue to a dish that feels like a culinary revelation. I’ve walked through every detail, from selecting the best tongue to mastering the broth’s balance. I hope you feel inspired to try this recipe, tweak it to your liking, and share the results. Happy cooking!