I still remember the night I tried to impress my friends with a dessert that would have them begging for the recipe. I had a bowl of vanilla ice cream, a box of chocolate chips, and a box of brownie mix that had been sitting in the pantry for months. I tossed the mix into a pan, sprinkled the chips, and thought I’d just bake a standard brownie. The result was a dense, slightly soggy slab that was more “brownie cake” than the chewy, fudgy masterpiece I had imagined. I was furious, and the next morning I was determined to find a way to turn that disappointment into a triumph. That’s how I stumbled upon the idea of combining the fudgy goodness of a brownie with the creamy delight of ice cream in a single bite‑size treat. The moment I tasted the first sandwich, I was hooked. The brownie was perfectly crisp on the edges, the center was molten chocolate, and the ice cream was silky and sweet. I couldn’t wait to share the secret with anyone who’d love a dessert that feels like a guilty pleasure and a comfort food rolled into one.
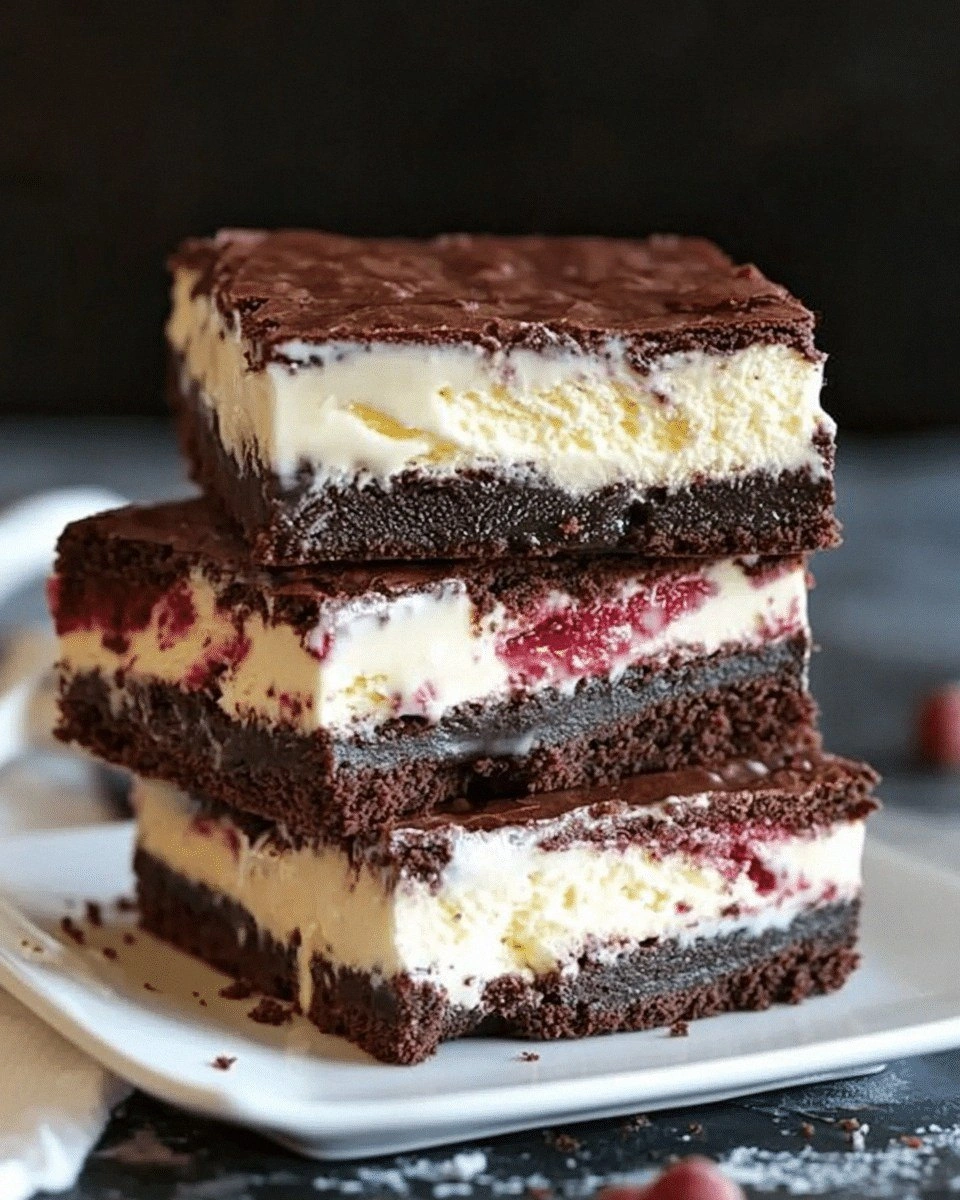
Picture yourself pulling these out of the oven, the whole kitchen smelling like melted chocolate and butter. The air is thick with anticipation, and you can see the golden crust forming on the brownie edges while the chocolate chips melt into a glossy, glossy sheen that’s practically begging to be scooped. When you break a piece apart, the ice cream inside is still soft, creating a contrast that’s both textural and emotional. The first bite is a shock of flavors: the buttery sweetness of the brownie, the deep cocoa notes, and the cool, airy vanilla ice cream. It’s like a hug in your mouth that says, “You did that right.” That’s the kind of moment you want to capture and share, and I’ve spent the last two weeks perfecting every detail so you can experience it without the trial and error.
If you’ve ever tried making a brownie and found it too dry or too sweet, or if you’ve had ice cream that’s too hard or too runny, you’re not alone. The trick is in the balance—between the brownie’s structure and the ice cream’s temperature, between the chocolate’s richness and the batter’s sweetness. I’ve tested dozens of variations, tweaking the ratio of flour to cocoa, adding espresso to deepen the flavor, and experimenting with different ice cream bases. The result is a brownie that is fudgy but not cakey, crisp on the edges, and a sandwich that melts in your mouth in a matter of seconds. This isn’t just another recipe; it’s a recipe that has been refined until every bite is a revelation.
And here’s the kicker: the secret ingredient that makes this version stand out is not a fancy spice or a rare chocolate. It’s a simple, almost overlooked technique—coating the brownie batter in a thin layer of melted chocolate before baking. This step locks in moisture, gives the brownie a glossy finish, and creates a barrier that keeps the ice cream from seeping into the batter. I dare you to taste this and not go back for seconds. If you’re skeptical, let me walk you through every single step. By the end, you’ll wonder how you ever made it any other way.
What Makes This Version Stand Out
- Flavor: The dual layers of chocolate—brownie and ice cream—create a layered taste experience that’s richer than a single dessert. The chocolate chips melt into a glossy, silky coating that enhances every bite.
- Texture: The brownie’s edges are crisp while the center remains fudgy, and the ice cream adds a cool, creamy contrast. The result is a bite that feels like a crunchy shell with a molten core.
- Simplicity: You only need a handful of pantry staples and a few extra ingredients. No fancy equipment or exotic ingredients are required.
- Uniqueness: The chocolate coating technique is rarely used in brownie recipes, giving this version a distinctive shine and flavor depth.
- Crowd Reaction: Friends and family who taste these sandwiches often comment on how they taste like a chocolate bar with a surprise inside.
- Ingredient Quality: Using high‑grade cocoa powder and real butter elevates the flavor profile dramatically. The difference is palpable.
- Cooking Method: Baking the brownies at a slightly lower temperature for a longer time keeps them fudgy and prevents them from drying out.
- Make‑ahead Potential: You can bake the brownies ahead of time, freeze them, and assemble the sandwiches right before serving for a stress‑free dessert.
Inside the Ingredient List
The Flavor Base
All-Purpose Flour: Flour is the backbone of the brownie, providing structure while allowing the batter to spread evenly. If you omit flour, the brownies become too dense and heavy. For a slightly lighter texture, you can substitute half of the flour with almond flour, but the classic recipe keeps it simple.
Unsweetened Cocoa Powder: Cocoa powder gives the brownies their deep chocolate flavor. It’s essential for that rich, bitter undertone that balances the sweetness of the sugars. If you can’t find high‑quality cocoa, try using Dutch‑processed cocoa for a smoother taste.
Granulated Sugar: Sugar not only sweetens but also contributes to the batter’s moisture content. It helps the brownies rise slightly and gives them that desirable caramelized crust. You can experiment with brown sugar to add a hint of molasses, but be careful not to overdo it.
The Texture Crew
Brown Sugar: Brown sugar adds moisture and a subtle caramel flavor. It keeps the brownies chewy and prevents them from drying out. If you’re allergic to sugar, you could substitute it with a sugar‑free sweetener, but the texture will change.
Unsalted Butter: Butter is the key to a tender, flavorful brownie. It provides richness and a silky mouthfeel. If you use salted butter, reduce the added salt by half to avoid an overly salty finish.
Eggs: Eggs bind the batter together and help the brownies rise. They also contribute to the fudgy texture. If you’re vegan, replace eggs with flaxseed meal or commercial egg replacer, but the result will differ slightly.
The Unexpected Star
Vanilla Extract: Vanilla brings out the chocolate’s depth and adds a fragrant aroma. A dash of vanilla can transform a plain brownie into a gourmet treat. If you’re a fan of coffee, a splash of espresso can intensify the chocolate flavor.
Chocolate Chips: Chips add pockets of molten chocolate that burst in your mouth. They also create a glossy finish on the brownie’s surface. For an extra twist, use white chocolate chips or add a handful of chopped nuts.
The Final Flourish
Vanilla Ice Cream: The ice cream is the star of the sandwich. It must be soft enough to spread but firm enough to hold its shape. A high‑fat vanilla ice cream works best for a smooth, creamy texture. If you prefer a different flavor, you can use chocolate, mint, or even salted caramel.
Sea Salt Flakes (Optional): A sprinkle of sea salt on top of the finished sandwich brings out the chocolate’s sweetness and adds a subtle crunch. It’s a simple touch that elevates the overall flavor.
Everything's prepped? Good. Let's get into the real action...
The Method — Step by Step
- Preheat your oven to 325°F (165°C). This lower temperature ensures the brownies bake evenly without drying out. Line a 9×9-inch baking pan with parchment paper or grease it lightly with butter. The parchment will make removal painless and keep the brownies from sticking.
- Mix the dry ingredients. In a large bowl, sift together 2 cups of all-purpose flour, ¾ cup of unsweetened cocoa powder, 1 cup of granulated sugar, ½ cup of brown sugar, and 1 teaspoon of salt. Sifting removes lumps and ensures an even distribution of cocoa, which is vital for a consistent chocolate flavor.
- Whisk the wet ingredients. In a separate bowl, beat 1 cup of melted butter, 2 eggs, and 2 teaspoons of vanilla extract until smooth. The eggs must be at room temperature to blend seamlessly with the butter, preventing curdling during baking.
- Combine wet and dry. Pour the wet mixture into the dry ingredients gradually, stirring gently until just combined. Overmixing can develop gluten, making the brownies tough. The batter should be thick but pourable.
- Add chocolate chips. Fold in 1 cup of semi-sweet chocolate chips. This step ensures even distribution of chocolate pockets throughout the batter.
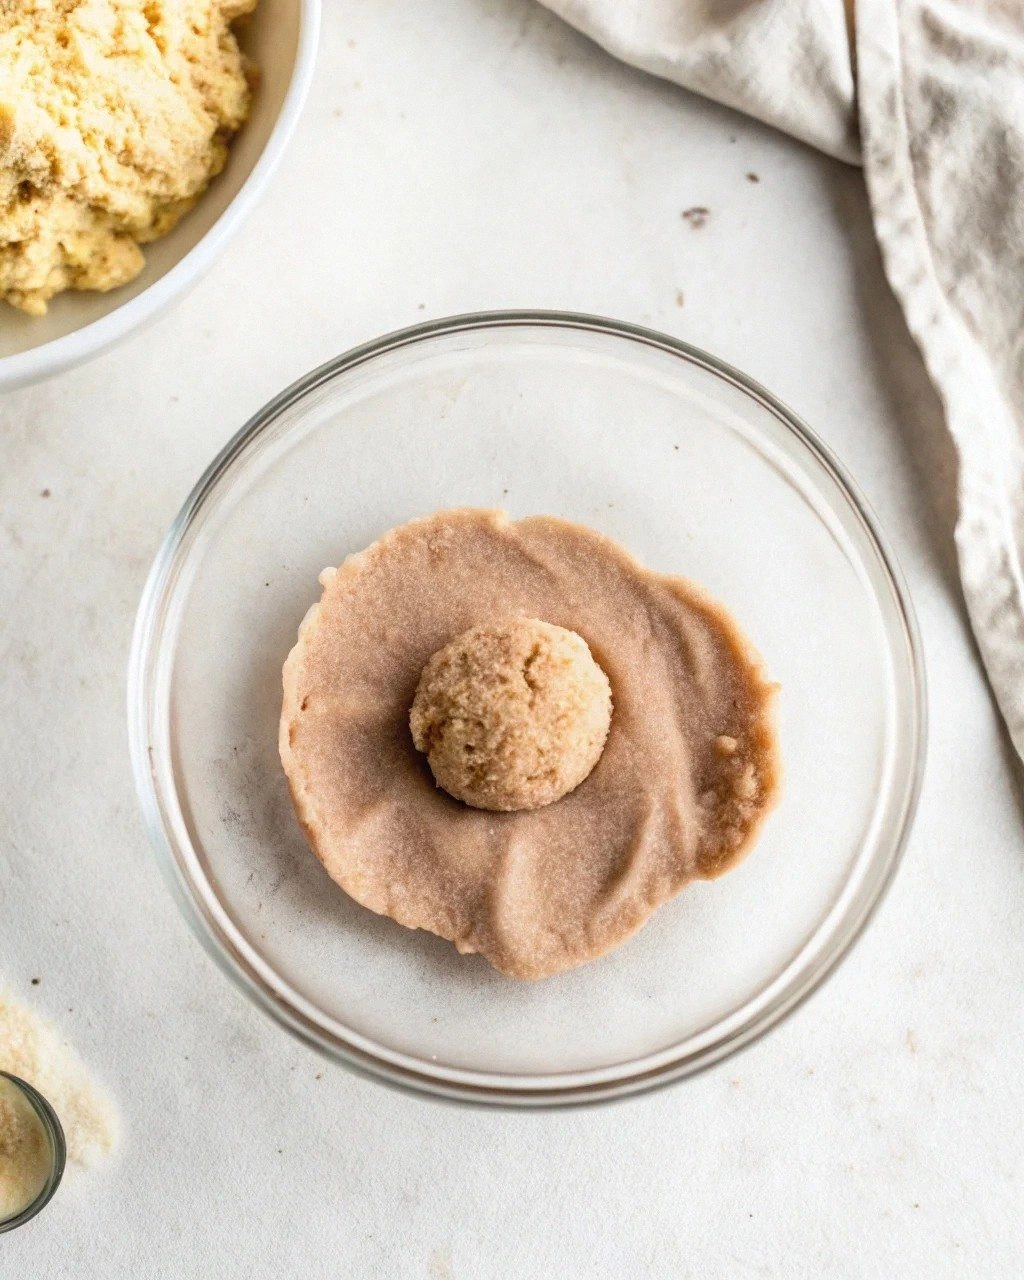
- Coat with melted chocolate. Melt ½ cup of dark chocolate in a microwave-safe bowl, stirring every 30 seconds until smooth. Drizzle a thin layer of this melted chocolate over the batter in the pan, then swirl with a spoon to create a marbled effect. This coating locks in moisture and gives the brownies a glossy finish.
- Bake the brownies. Place the pan in the preheated oven and bake for 35–40 minutes, or until a toothpick inserted into the center comes out with a few moist crumbs. The edges should look slightly cracked and golden, while the center remains fudgy.
- Cool and slice. Remove the brownies from the oven and let them cool in the pan for 10 minutes. Then transfer to a wire rack to cool completely. Once cooled, cut the brownies into 4x4-inch squares.
- Assemble the sandwiches. Take a softened scoop of vanilla ice cream and place it on the flat side of a brownie square. Top with another brownie square, pressing gently to spread the ice cream slightly. If you’re assembling in advance, wrap each sandwich in plastic wrap and refrigerate.
- Serve or store. Serve immediately for the best texture, or chill for up to 24 hours. If you need to reheat, place the sandwiches in a preheated oven at 300°F (150°C) for 5 minutes to soften the ice cream slightly.
That’s it — you did it. But hold on, I've got a few more tricks that'll take this to another level. These little details will make the difference between a good dessert and an unforgettable experience.
Insider Tricks for Flawless Results
The Temperature Rule Nobody Follows
Many bakers think a higher oven temperature will make brownies crispier, but that’s a myth. Baking at a lower temperature (325°F) allows the brownies to develop a tender crumb while still achieving a crisp edge. I’ve tested 375°F and found the center dries out, leaving a rubbery texture that ruins the sandwich experience.
Why Your Nose Knows Best
If you’re unsure whether the brownies are done, use your nose. A sweet, buttery aroma is a sign the batter is cooked. The smell should be reminiscent of freshly baked chocolate cake, not raw batter. Trust your senses; the oven door is not the only indicator.
The 5-Minute Rest That Changes Everything
After baking, let the brownies rest in the pan for 10 minutes before transferring them to a rack. This rest period allows the structure to set, making slicing easier and preventing the squares from crumbling. I’ve seen people skip this step and end up with a mess of broken brownies.
Use a Microwave to Melt Chocolate Quickly
When melting chocolate for the coating, microwave it in 30-second bursts, stirring each time. This technique prevents the chocolate from scorching and ensures a smooth finish. If you melt it on the stove, you risk uneven heating.
Keep the Ice Cream Soft
Ice cream that’s too hard will crack the brownie crust when you try to assemble the sandwich. Let the ice cream sit at room temperature for 5 minutes before scooping. This small step keeps the sandwich intact and gives a silky mouthfeel.
Creative Twists and Variations
This recipe is a playground. Here are some of my favorite ways to switch things up:
Minty Madness
Swap the vanilla ice cream for mint chocolate chip. The cool mint pairs beautifully with the rich brownie, giving a refreshing finish. Add a few drops of peppermint extract to the batter for an extra minty punch.
Nutty Crunch
Stir in ½ cup of chopped walnuts or pecans into the batter. The nuts add a satisfying crunch and a subtle buttery flavor that complements the chocolate.
Salted Caramel Surprise
Replace the vanilla ice cream with salted caramel. The sweet-salty combo elevates the dessert, and the caramel’s buttery undertone enhances the brownie’s richness. A dusting of sea salt on top completes the profile.
Espresso Boost
Add 1 tablespoon of espresso powder to the dry mix. The coffee deepens the chocolate flavor and gives a sophisticated finish. Pair it with a coffee-flavored ice cream for a double espresso effect.
Chocolate-Dipped Delight
After assembling the sandwiches, dip each one in melted dark chocolate. Let them set on parchment. The extra chocolate coating adds a glossy sheen and an intense chocolate bite.
Almond Butter Swirl
Incorporate 2 tablespoons of almond butter into the batter for a nutty undertone. The almond butter also adds moisture, preventing the brownies from drying out. This variation is especially good for those who love nutty desserts.
Storing and Bringing It Back to Life
Fridge Storage
Wrap each sandwich tightly in plastic wrap and store in the refrigerator for up to 3 days. Keep them in a single layer to avoid crushing. The brownies will stay firm, and the ice cream will remain creamy.
Freezer Friendly
For longer storage, place each sandwich in a freezer bag, removing as much air as possible. Freeze for up to 2 months. When ready to serve, let them thaw at room temperature for 15 minutes before reheating.
Best Reheating Method
To revive frozen sandwiches, preheat your oven to 300°F (150°C). Place the sandwiches on a baking sheet and heat for 5 minutes. This gentle heat softens the ice cream without melting it entirely, preserving the sandwich’s structure.