Introduction
Picture this: I was standing in my cramped kitchen, the oven preheated, and a stack of plain sponge cakes on the counter that looked as lifeless as a Monday morning. My friends dared me to create something that would make even the most seasoned pastry lovers swoon. I grabbed a jar of liquid gold—honey—because nothing says “comfort” like the warm, caramelized sweetness that drips from the spoon. I could hear the timer ticking, the scent of butter melting, and the faint buzz of the refrigerator humming, all while my heart thumped like a drumbeat of anticipation.
As the batter swirled, the kitchen filled with a honeyed aroma that made the windows fog up, the walls echoing with a faint hum of excitement. The honey clung to the whisk like a honeycomb, glistening under the kitchen light, and the flour dusted the countertop like snow. I could taste the faint nutty undertone of walnuts, the sharp zing of lemon zest, and the comforting whisper of cinnamon and cloves. Every sensory note was a promise of something extraordinary.
Why does this version stand out? Because it’s not just a cake; it’s a celebration of texture and flavor, a marriage of sweet and savory, and a testament to the power of honey as a natural sweetener. The secret lies in the layering of honey with butter, the subtle addition of sour cream to keep the crumb tender, and the final glaze that gives it that glossy finish. Most recipes get this completely wrong, treating honey as a mere substitute for sugar, but here it’s the star that drives everything.
I dare you to taste this and not go back for seconds. If you think a simple honey cake is just another dessert, think again. This is hands down the best version you'll ever make at home, and I promise you’ll be pulling it out of the oven with a grin that says, “I did this.” Let me walk you through every single step—by the end, you'll wonder how you ever made it any other way.
What Makes This Version Stand Out
- Honey's Depth: Honey replaces half the sugar, giving the cake a caramelized, almost buttery richness that lingers on the tongue. Its natural enzymes also help tenderize the crumb, making each bite melt in your mouth.
- Balanced Sweetness: The mix of honey and granulated sugar keeps the sweetness in check, preventing the cake from becoming cloyingly sweet while still delivering that honey glow.
- Texture Magic: The addition of sour cream and a touch of milk creates a moist, airy crumb that feels like a cloud. The butter’s fat content adds a silky finish that coats the palate.
- Flavor Layering: Ground cinnamon and cloves add warmth, while lemon zest introduces a citrusy brightness that cuts through the sweetness.
- Nutty Crunch: Chopped walnuts not only provide a delightful crunch but also add a subtle earthiness that balances the honey’s sweetness.
- Glaze Perfection: A simple glaze of powdered sugar and lemon juice gives the cake a glossy, polished look and a tart counterpoint to the honey.
- Make‑Ahead Friendly: You can bake the cake, let it cool, and then apply the glaze later—perfect for parties or holiday gifting.
- Audience Impact: Friends and family will be amazed by the cake’s depth of flavor and the way it holds together, making it a conversation starter at any gathering.
Alright, let's break down exactly what goes into this masterpiece…
Inside the Ingredient List
The Flavor Base
All-purpose flour, the backbone of any cake, provides the structure. It’s the silent hero that holds everything together. If you skip it, your cake collapses into a sugary mess. For a lighter crumb, sift the flour and use a whisk to aerate it before adding.
The Texture Crew
Butter, eggs, and sour cream form the core of the cake’s moisture. Butter adds richness and creates a tender crumb through the creaming method. Eggs bind the batter and add lift, while sour cream keeps the cake moist and adds a subtle tang that balances the honey’s sweetness. If you’re dairy‑free, substitute coconut oil for butter and a non‑dairy yogurt for sour cream, but the texture will differ slightly.
The Unexpected Star
Honey is the star of this cake. It replaces half of the sugar, giving the cake a natural sweetness and a beautiful golden hue. Honey’s natural enzymes also help tenderize the batter, making the crumb wonderfully soft. If you’re looking for a lower‑glycemic option, choose raw, unfiltered honey, but remember it may have a slightly more bitter note.
The Final Flourish
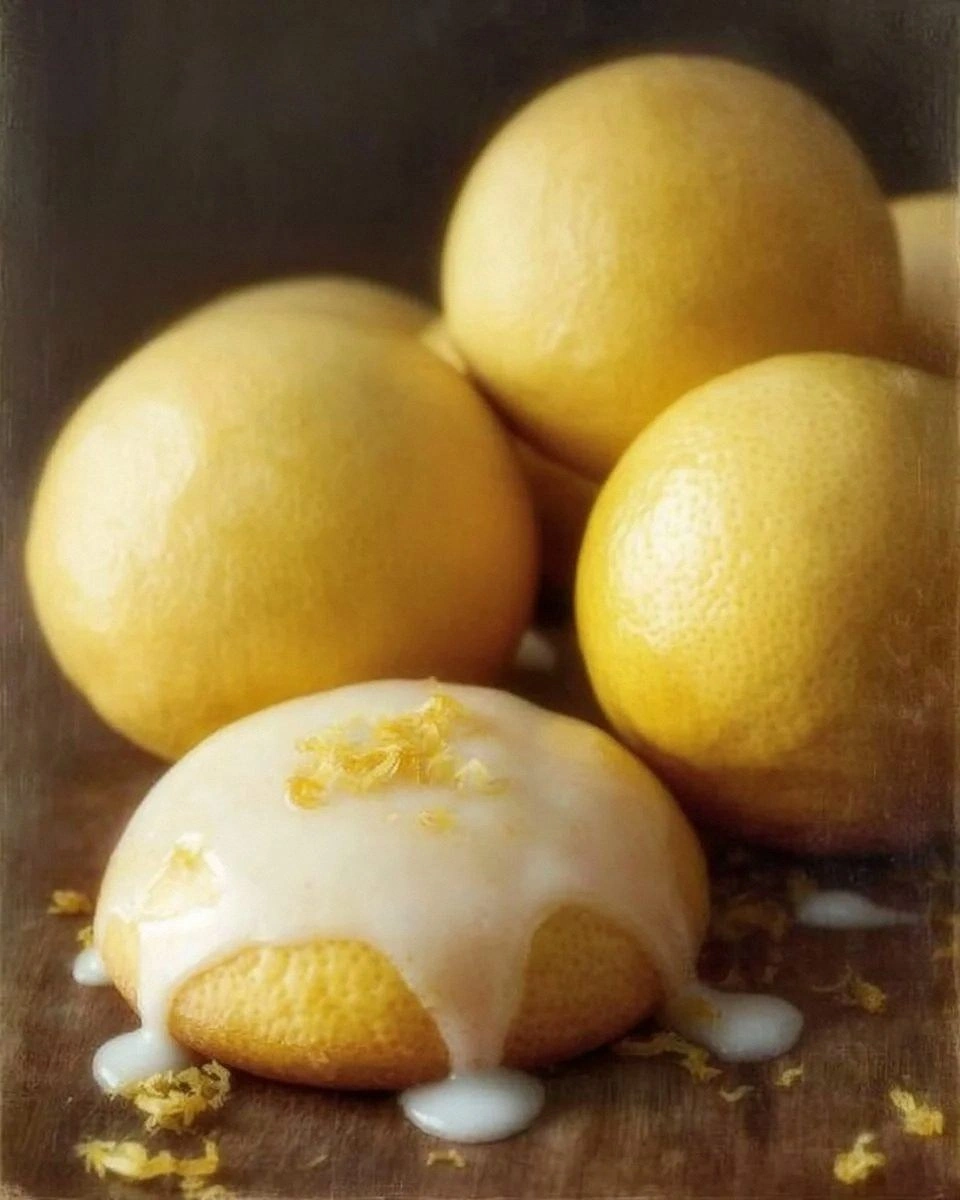
Ground cinnamon, cloves, and lemon zest bring warmth and brightness. Cinnamon adds a cozy, spicy undertone, while cloves provide a deep, aromatic depth. Lemon zest gives a fresh, citrusy lift that cuts through the sweetness. If you’re allergic to citrus, replace the zest with a splash of orange zest for a slightly sweeter finish.
Everything's prepped? Good. Let's get into the real action…

The Method — Step by Step
- Preheat and Prepare: Heat your oven to 350°F (175°C) and line a 9-inch round cake pan with parchment paper. Grease the paper lightly with butter or oil to ensure the cake slides out easily. As the oven warms, the room fills with the faint scent of toasted butter, a sign that everything is on track. This step is crucial; a cold pan can cause the batter to sink and create an uneven top. Let the oven settle for a few minutes before placing the pan inside.
- Cream the Butter: In a large mixing bowl, beat the softened butter until it’s light and fluffy, about 3–4 minutes. The butter should be pale, almost translucent, and hold a silky texture. If you’re using a stand mixer, start on low speed and gradually increase. The goal is to incorporate as much air as possible, which will give the cake lift. Watch the color change; it’s a good visual cue that you’re on the right track.
- Add Sugar and Honey: Gradually pour in the granulated sugar and honey, beating on medium speed. The mixture should thicken and become glossy. The honey’s viscosity will slow the mixing, so be patient. This is the moment where the cake’s signature caramelized sweetness starts to form. Keep an eye on the batter; it should be smooth and glossy, not lumpy.
- Introduce Eggs: Crack the eggs one at a time, mixing thoroughly after each addition. The batter should thicken slightly after each egg. The eggs provide structure and help bind the batter together. If you’re worried about curdling, add a splash of warm milk with each egg to keep the mixture smooth.
- Combine Dry Ingredients: In a separate bowl, whisk together flour, baking powder, baking soda, and salt. Sift the mixture to remove any lumps. This dry blend will give the cake its rise and ensure even distribution of leavening agents. A smooth dry mix also prevents pockets of flour that could cause uneven baking.
- Mix Wet and Dry: Gradually fold the dry mixture into the wet batter, alternating with the milk and sour cream. Use a spatula to gently fold, keeping the batter light. This step is delicate; overmixing can cause the cake to become dense. The sour cream adds a slight tang that balances the honey’s sweetness and keeps the crumb tender.
- Add Aromatics: Stir in vanilla extract, lemon zest, cinnamon, cloves, and walnuts. The spices infuse the batter with warmth, while the walnuts add crunch and nutty flavor. The lemon zest provides a bright counterpoint that keeps the cake from feeling heavy. Make sure the nuts are evenly distributed to avoid clumps.
- Bake: Pour the batter into the prepared pan, smoothing the top with a spatula. Bake for 30–35 minutes, or until a toothpick inserted in the center comes out clean. The cake should have a golden brown crust and a slightly caramelized surface. Keep a close eye on the edges; they should pull away from the pan slightly, indicating doneness. Once baked, let the cake cool in the pan for 10 minutes before transferring to a wire rack.
- Glaze: While the cake is still warm, whisk together powdered sugar and lemon juice until smooth. Drizzle the glaze over the top, allowing it to pool and set. The glaze adds a glossy sheen and a tart finish that cuts through the honey’s sweetness. Let the glaze set for about 10 minutes before slicing. This final touch elevates the cake from simple to spectacular.
That's it — you did it. But hold on, I've got a few more tricks that'll take this to another level…
Insider Tricks for Flawless Results
The Temperature Rule Nobody Follows
Many bakers bake at a high temperature to get a quick rise, but that can cause the cake to crack on top. Instead, bake at a steady 350°F (175°C). This slow, even heat allows the cake to rise gently, producing a tender crumb that stays moist. I once tried a 400°F bake and the cake cracked like a brittle cookie. Lesson learned: keep it moderate.
Why Your Nose Knows Best
Before you pull the cake out, inhale the aroma. A sweet, honeyed scent with a hint of citrus means it’s ready. If the smell leans too much towards butter or milk, give it a few more minutes. Your nose is a reliable indicator of doneness, far better than a timer.
The 5-Minute Rest That Changes Everything
Let the cake rest in the pan for 10 minutes before transferring. This short rest allows the cake to set, preventing it from crumbling when you remove it. The residual heat continues to bake the interior slightly, ensuring a uniform texture. Skip this step and you’ll end up with a cake that’s fragile and uneven.
Keep It Moist, Not Wet
After baking, avoid cutting the cake while it’s still hot. If you cut it immediately, steam will escape and the cake will look dry. Let it cool fully; this also lets the glaze set properly, giving that glossy finish.
Use a Silicone Mat for Easy Release
Even with parchment, a silicone baking mat can make removing the cake effortless. The non-stick surface ensures the cake slides out without tearing. It also reduces the need for greasing, which can alter the batter’s moisture content.
Serve Warm for Peak Flavor
Serve the cake slightly warm to let the honey aroma fully bloom. The warm glaze will melt just enough to create a silky coating on each bite. If you’re serving at a gathering, keep a small saucepan of warm water to reheat slices quickly.
Creative Twists and Variations
This recipe is a playground. Here are some of my favorite ways to switch things up:
Chocolate Honey Cake
Swap 1 cup of flour for 1 cup of cocoa powder and reduce the flour to 1.5 cups. Add 2 tablespoons of melted dark chocolate to the batter. The chocolate deepens the honey flavor, making it a decadent treat for chocolate lovers.
Almond Honey Cake
Replace walnuts with slivered almonds and add 1 teaspoon of almond extract. The nutty aroma pairs beautifully with honey, giving the cake a sophisticated twist.
Spiced Ginger Honey Cake
Add 1 tablespoon of fresh grated ginger and 1/2 teaspoon of ground cardamom. The ginger’s heat cuts through the sweetness, offering a spicy kick that’s perfect for winter gatherings.
Vegan Honey Cake
Use coconut oil instead of butter, flaxseed eggs (1 tablespoon ground flaxseed + 3 tablespoons water), and oat milk. The cake remains moist and tender, while the coconut oil adds a subtle tropical note.
Honey Lemon Cake
Increase the lemon zest to 2 tablespoons and add 1 tablespoon of lemon juice to the batter. The bright citrus flavor complements the honey, creating a refreshing dessert.
Honey and Pomegranate Cake
Fold in 1/2 cup of pomegranate seeds after the batter is ready. The seeds add a burst of tartness and a pop of color, turning the cake into a showstopper.
Storing and Bringing It Back to Life
Fridge Storage
Wrap the cooled cake tightly in plastic wrap and store in the refrigerator for up to 3 days. The honey acts as a natural preservative, keeping the cake moist. Before serving, let it sit at room temperature for 15 minutes to restore its softness.
Freezer Friendly
Wrap the cake in parchment paper, then in foil, and place it in a freezer bag. It can stay fresh for up to 2 months. When ready to serve, thaw overnight in the fridge and then let it warm to room temperature.
Best Reheating Method
Preheat your oven to 300°F (150°C). Place the cake on a baking sheet and heat for 10–12 minutes. Add a tiny splash of water to the pan to create steam; this steams the cake back to perfection, preventing it from drying out.