I remember the night I almost ruined a whole pot of homemade ice cream because I had forgotten to chill the base long enough. That disaster turned into a midnight craving for something sweet, gooey, and utterly comforting. I was scrolling through Pinterest, eyes glazed with sugar, when a friend dared me to recreate the legendary “Turtle” dessert that everyone swears by. The moment I typed “Turtle Rice Krispie Treats” into the search bar, I felt the kitchen lights flicker with possibility. My phone buzzed with a notification: “Your friends want to see the ultimate version.”
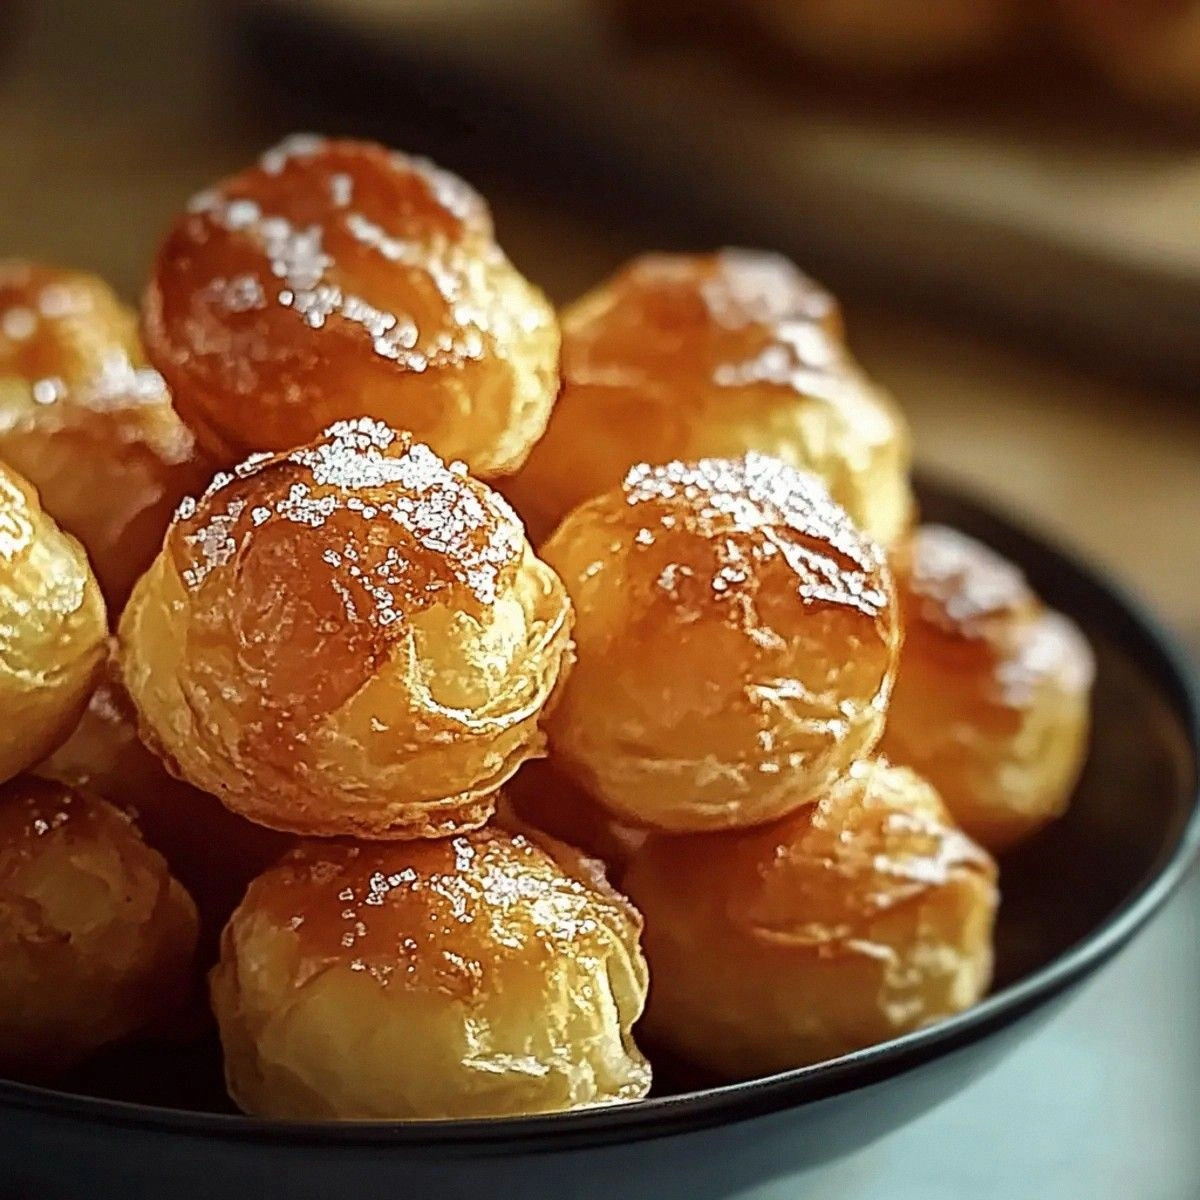
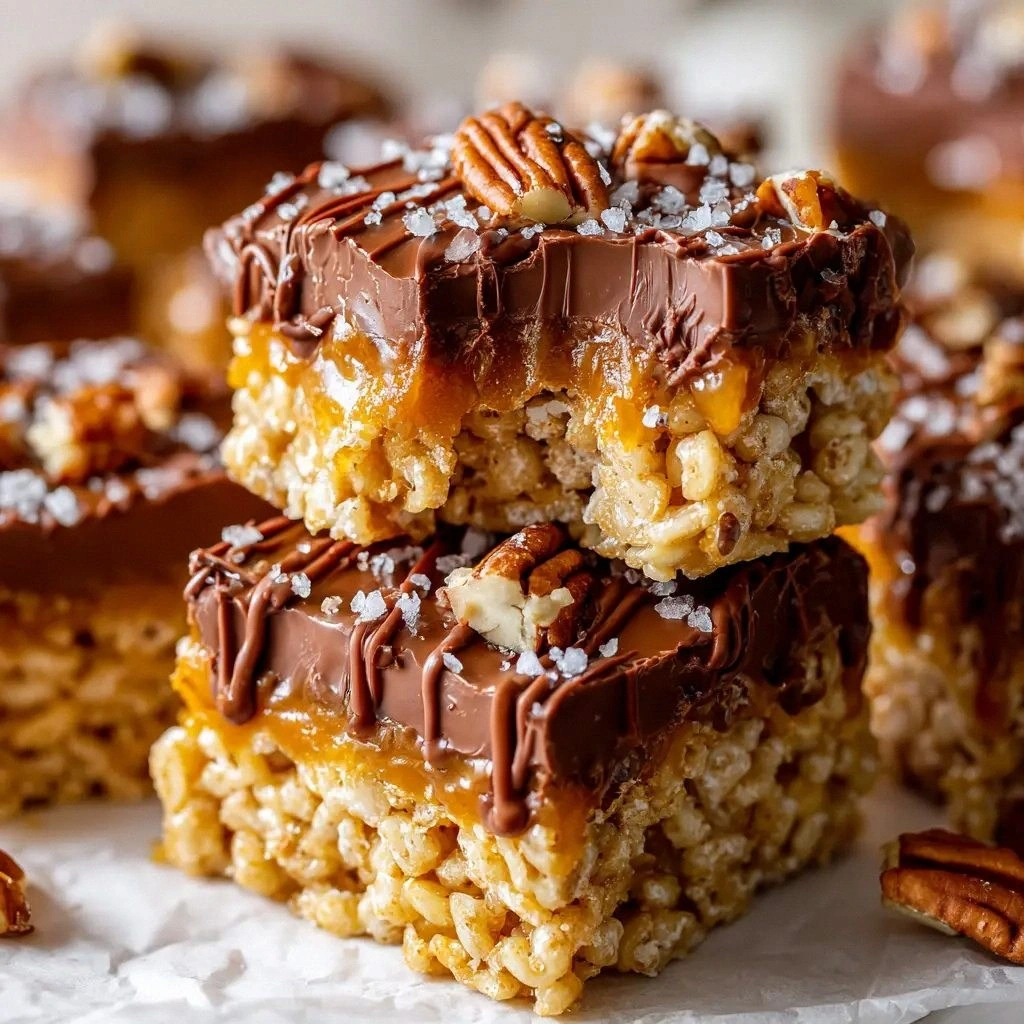
The aroma that filled my apartment that night was unmistakable—warm butter, caramel, and a hint of vanilla swirling together like a velvet ribbon. My taste buds tingled as I imagined the first bite: a crunch that shatters like thin ice, followed by a molten caramel river, and a chocolate finish that lingers like a sweet afterglow. The texture was a symphony of crisp, chewy, and silky, a dance that made my mouth water in anticipation. The sound of the pan sizzling was a soundtrack to my culinary adventure, a subtle reminder that this was no ordinary treat. And the sight—glossy, golden, and slightly caramelized edges—promised a masterpiece that would outshine every other recipe I’ve ever seen.
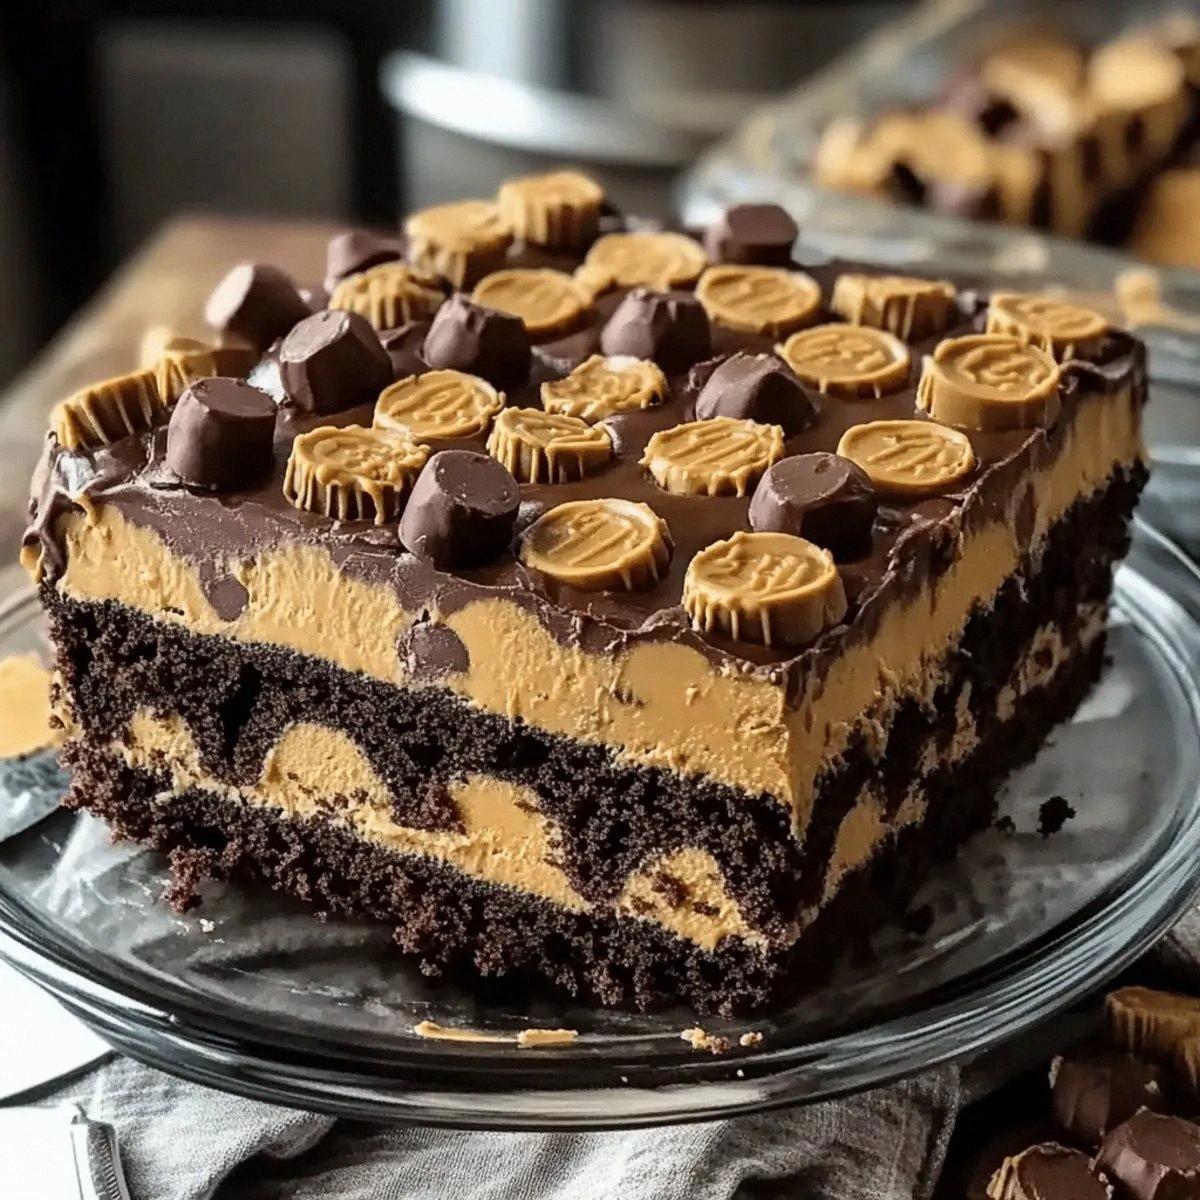
What sets this version apart is not just the ingredients but the meticulous technique that turns a simple snack into a showstopper. I’ve tweaked the ratio of butter to marshmallows to achieve that perfect gooey consistency, while adding caramel bits for depth and pecans for a satisfying crunch. The use of heavy cream in the caramel layer gives it a silky mouthfeel that melts on the tongue. The chocolate chips are strategically placed to create a chocolate “river” that runs through the center, mimicking the look of a real turtle shell. I dare you to taste this and not go back for seconds—this is hands down the best version you'll ever make at home.
If you’ve ever struggled with making Rice Krispie treats that are too dry or too sticky, you’re not alone—and I’ve got the fix. Picture yourself pulling this out of the pan, the whole kitchen smelling incredible, and watching the caramel cascade like molten gold. The anticipation is almost as sweet as the final bite. The next part? Pure magic. Stay with me here—this is worth it. Let me walk you through every single step—by the end, you'll wonder how you ever made it any other way.
What Makes This Version Stand Out
- Flavor: The combination of salted butter, vanilla, and caramel creates a layered taste profile that feels both indulgent and balanced. The caramel bits add a chewy sweetness that complements the marshmallow goo. If you’re a fan of sweet and salty, this is the dessert that will satisfy.
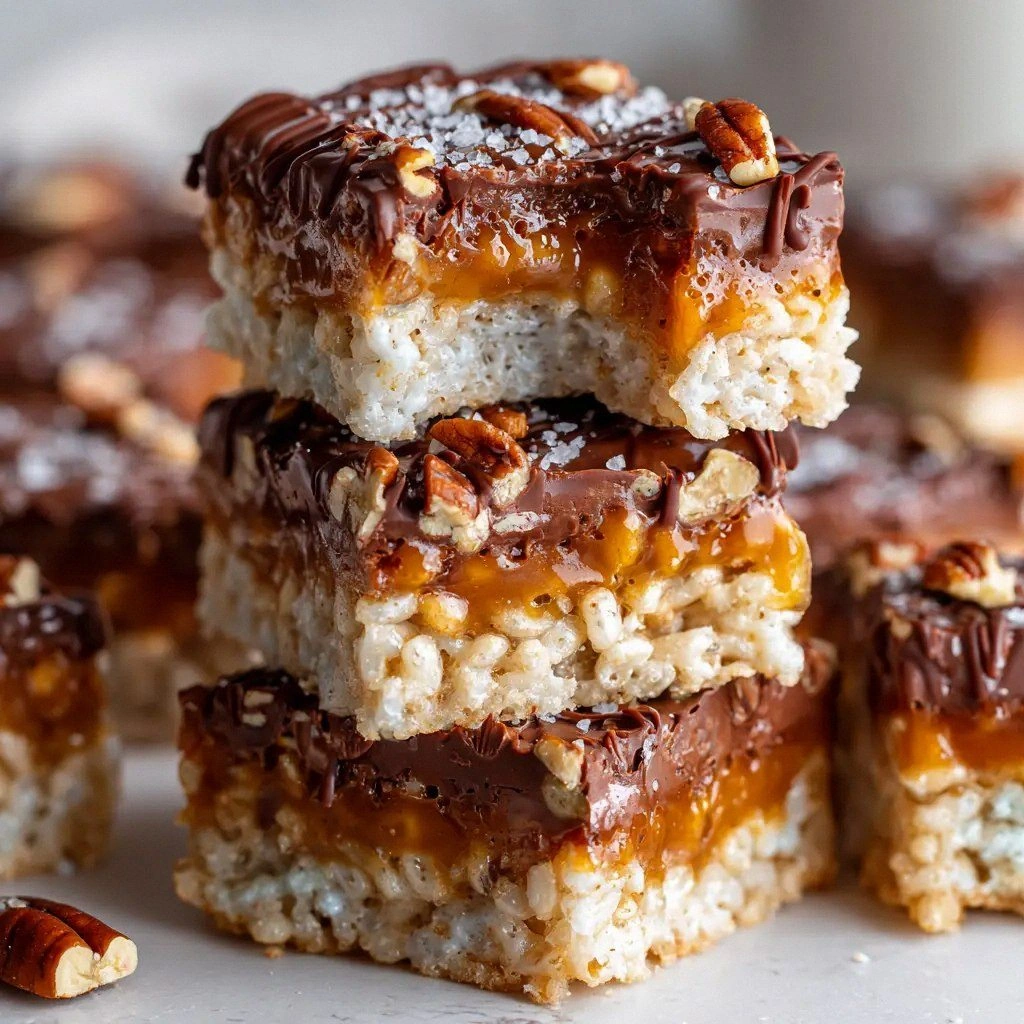
- Texture: The crispy rice cereal provides a satisfying crunch that contrasts with the chewy marshmallow interior. The caramel and chocolate layers melt into a silky finish that coats the palate like velvet. The pecan crunch adds a subtle nutty bite that rounds out the mouthfeel.
- Ingredient Quality: Using premium mini marshmallows and soft caramels elevates the treat from ordinary to gourmet. The pecans are toasted to bring out their natural oils, enhancing the overall flavor. Every ingredient is chosen for its ability to work harmoniously.
- Make‑Ahead Potential: Once the treats set, they can be stored in an airtight container for up to a week. They also freeze well, allowing you to enjoy a fresh batch whenever you crave something sweet. The caramel layer keeps its texture even after reheating.
- Visual Appeal: The golden crust, the chocolate river, and the caramel glaze create a dessert that looks as good as it tastes. It’s perfect for a family gathering or a special occasion. The presentation alone earns rave reviews.
- Cooking Method: The technique of melting butter and marshmallows together, then folding in the cereal, ensures even distribution of flavor. The addition of heavy cream in the caramel layer prevents it from becoming too thick. The method is simple but yields professional results.
- Audience: Whether you’re a novice or a seasoned baker, this recipe is approachable. The steps are straightforward, and the tools required are common. The result is a crowd-pleaser that will have everyone asking for seconds.
Alright, let's break down exactly what goes into this masterpiece...
Inside the Ingredient List
The Flavor Base
Salted butter is the cornerstone of this recipe, providing richness and a subtle savory note that balances the sweetness. Melt it slowly to avoid burning, and let it cool slightly before adding the marshmallows. Skipping butter will leave the treat dry and lacking depth. For an extra buttery flavor, consider using European-style butter with a higher butterfat content.
The Texture Crew
Mini marshmallows are the glue that holds everything together. Their small size ensures even distribution and a smooth, gooey interior. If you prefer a firmer bite, reduce the marshmallow quantity by a quarter, but be prepared for a less cohesive texture. A good tip: use a silicone spatula to fold the cereal in, preventing clumps.
The Unexpected Star
Caramel bits or soft caramels add a chewy, buttery sweetness that contrasts with the marshmallow. They also give the treats a visual appeal with their golden sheen. If you’re vegan, look for dairy-free caramel or make your own by cooking sugar until it caramelizes. Remember, the caramel should be pliable—too hard will break the structure.
The Final Flourish
Semi-sweet chocolate chips and pecans finish the treat with a decadent finish. The chocolate creates a glossy “river” that melts into the caramel, while the pecans add a nutty crunch. If you’re allergic to nuts, substitute with toasted coconut flakes or omit entirely. The chocolate should be added after the mixture has cooled slightly to prevent melting into a single blob.
Everything's prepped? Good. Let's get into the real action...
The Method — Step by Step
- Start by lining a 9x13-inch baking pan with parchment paper, leaving an extra inch on each side for easy removal. The parchment ensures that the treats don’t stick and makes cleanup a breeze. This is the moment of truth—if the pan isn’t prepared, you’ll lose that clean edge. The parchment also gives a slight lift to the finished product.
- In a medium saucepan, melt the 6 tbsp salted butter over low heat. Stir constantly to prevent scorching. Once melted, add the 16 oz mini marshmallows and let them melt completely, stirring until the mixture is smooth. This step creates a glossy base that will carry the caramel.
- Add the 1 tsp vanilla extract to the melted butter and marshmallow mixture. The vanilla brings a subtle warmth that complements the caramel. Stir until fully incorporated, and then remove the pan from the heat. At this point, the mixture should be thick and fragrant.
- Fold in the 6 cups crispy rice cereal, ensuring each flake is coated evenly. Use a large spatula to mix gently, preventing the cereal from breaking. The coating should look like a golden blanket. This step is crucial for achieving a uniform texture.
- Press the mixture firmly into the prepared pan using a spatula or your palms. The goal is a tight, even layer that will hold together when cut. A good visual cue is that the mixture should not shift when you tap the pan lightly.
- While the base sets, prepare the caramel layer. In a small saucepan, melt the 11 oz caramel bits or soft caramels with 2 tbsp heavy cream over medium heat. Stir until smooth and glossy, then remove from heat. This step creates the silky river that will flow through the treats.
- Drop spoonfuls of the caramel onto the set base. Then, carefully drizzle the remaining caramel over the entire surface. The caramel should pool in the center and run along the edges, creating a “turtle shell” effect. The visual is almost as satisfying as the taste.
- Let the caramel cool for about 5 minutes, then sprinkle the 1 cup semi-sweet chocolate chips over the top. The chocolate will melt slightly from the residual heat, creating a glossy river. Stir gently to spread the chips evenly.
- Finally, add the 1 cup pecans, pressing them lightly into the chocolate layer. The pecans should be partially embedded, offering a crunchy contrast when bitten. This is the final flourish that completes the aesthetic and flavor profile.
- Allow the treats to cool completely at room temperature, then refrigerate for at least 2 hours to set firmly. Once set, cut into squares using a sharp knife. Serve chilled or at room temperature for optimal flavor.
That's it — you did it. But hold on, I've got a few more tricks that'll take this to another level...
Insider Tricks for Flawless Results
The Temperature Rule Nobody Follows
Many bakers think that higher heat always yields better caramel. In reality, slow, low heat preserves the caramel’s silky texture. I once tried to speed up the process by turning the stove up to high, and the caramel became grainy. Keep the heat at medium and stir frequently to maintain a smooth consistency. This small adjustment can mean the difference between a glossy river and a gritty mess.
Why Your Nose Knows Best
The aroma of caramel is a reliable indicator of doneness. When you smell a sweet, buttery scent, the caramel is ready. If you notice a burnt smell, it’s a sign that you’ve overcooked. I’ve always relied on the nose to judge the caramel’s readiness, and it has saved me from many disasters. Trust your senses; they’re the best judge.
The 5-Minute Rest That Changes Everything
After pouring the caramel, let it rest for exactly five minutes before adding the chocolate. This short pause allows the caramel to thicken just enough to hold the chocolate in place. Skipping this step can cause the chocolate to slide off and create a messy surface. I’ve seen friends skip it and end up with a flat, unglazed top.
The Pecans: Toasted vs. Raw
Toasting pecans before adding them infuses a nutty aroma and prevents them from becoming soggy. I toast them in a dry skillet for 3 minutes, then let them cool. If you use raw pecans, they can release oil that clogs the chocolate layer. Toasted pecans also add a subtle crunch that complements the caramel.
The Final Press
When pressing the mixture into the pan, use a damp spatula to smooth the top. A dry spatula can leave ridges that cause uneven cooling. I’ve found that a damp spatula also helps to keep the mixture from sticking to the pan. This small detail ensures a clean edge when you cut the treats.
The Chill Trick
Refrigerating the treats for at least two hours sets the caramel and chocolate firmly. If you rush the chilling process, the caramel can run and create a mess. I like to set a timer for 90 minutes and then let it sit an extra hour to be safe. A well-chilled treat is easier to cut and less sticky.
Creative Twists and Variations
This recipe is a playground. Here are some of my favorite ways to switch things up:
Coconut Crunch
Swap the pecans for toasted shredded coconut for a tropical twist. The coconut adds a subtle sweetness and a chewy texture that pairs well with caramel. I love adding a pinch of sea salt on top for contrast. This version is perfect for beach parties or summer gatherings.
Chocolate‑Mint Surprise
Add a few drops of peppermint extract to the caramel for a minty kick. The mint complements the chocolate, creating a refreshing flavor profile. I recommend using dark chocolate chips for a richer taste. This variation is ideal for holiday treats.
Spiced Caramel Delight
Stir in a pinch of cinnamon or nutmeg into the caramel layer for a warm, spicy undertone. The spices add depth without overpowering the sweetness. I also sprinkle a few crushed ginger snaps on top for extra texture. This version works wonderfully during autumn.
Nut-Free Bliss
Replace the pecans with toasted pumpkin seeds or sunflower seeds for a nut-free option. The seeds add crunch and a mild flavor that complements the caramel. I often add a drizzle of honey for extra sweetness. This variation is great for allergy-friendly gatherings.
Berry‑Infused Caramel
Blend in a handful of dried cranberries or cherries into the caramel mixture. The berries provide a tart contrast to the sweet caramel and chocolate. I also add a splash of vanilla bean paste for extra aroma. This version is a hit during the winter holidays.
Coffee‑Caramel Fusion
Stir in a tablespoon of instant coffee into the caramel for a subtle mocha flavor. The coffee depth balances the sweetness and enhances the chocolate notes. I often top the finished treats with a dusting of cocoa powder. This variation is perfect for coffee lovers.
Maple‑Honey Twist
Replace the vanilla extract with a combination of maple syrup and honey for a natural sweetener. The maple adds a distinct flavor while honey provides a silky finish. I also sprinkle toasted almonds on top for crunch. This version is ideal for breakfast or brunch.
Lemon‑Zest Finish
Add a teaspoon of lemon zest to the caramel for a bright, citrusy note. The zest cuts through the richness and adds a fresh aroma. I also drizzle a thin layer of lemon glaze on top. This variation is great for spring gatherings.
Storing and Bringing It Back to Life
Fridge Storage
Store the treats in an airtight container in the refrigerator for up to a week. The cold temperature keeps the caramel firm and the chocolate from melting. If you notice the treats drying out, wrap them in parchment paper before sealing the container. This keeps them fresh and ready to enjoy.
Freezer Friendly
For long-term storage, wrap the treats individually in plastic wrap and place them in a freezer bag. They will keep for up to three months. When ready to serve, let them thaw at room temperature for 30 minutes. The texture will return to its original gooey state.
Best Reheating Method
To revive the treats, heat them in the microwave at 30-second intervals, watching closely to avoid overheating. Add a tiny splash of water before reheating to steam back to perfection. Alternatively, warm them in a preheated oven at 300°F for 5 minutes. This will restore the caramel’s shine and the chocolate’s smoothness.