I was halfway through a week of bland dinners when my phone buzzed with a frantic text from a friend: “I need a show‑stopper for tonight—any ideas?” I stared at the fridge, the lights flickering like a nervous audience, and thought, “Why not turn a humble beef tenderloin into the star of the night?” I grabbed the meat, and the kitchen transformed into a stage where aromas danced and the timer became my metronome. The sizzling sound that greeted the sear felt like applause, and I knew I was about to rewrite the rulebook for a classic cut. I couldn’t wait to share the secret that turned a simple roast into a crowd‑pleaser.
The first bite was a revelation: the exterior was a caramelized crust that crackled like a crisp newspaper, while the interior remained a silky, pink blush that melted on the tongue. The garlic and herbs infused the meat with a fragrant perfume that made the entire room feel like a rustic French cellar. The buttery finish added a velvety sheen that made every forkful feel luxurious. I was honest—half the dish vanished before anyone else could taste it. It was a moment of culinary triumph that I wanted to capture for everyone.
What sets this version apart isn’t just the ingredients; it’s the technique that locks in flavor and texture. By letting the meat rest after searing, I allowed the juices to redistribute, preventing that dreaded dry center. The blend of fresh rosemary, thyme, and parsley creates a harmonious bouquet that balances the richness of the beef. A splash of white wine adds a subtle acidity that brightens the dish, cutting through the fat without overpowering the natural taste. The result? A tender, juicy tenderloin with a crust that’s both crisp and flavorful.
I dare you to taste this and not go back for seconds. This is hands down the best version you’ll ever make at home. Picture yourself pulling this out of the oven, the whole kitchen smelling incredible, and guests leaning in for that first bite. If you’ve ever struggled with a dry tenderloin, you’re not alone—this recipe fixes that with a simple, proven method. Let me walk you through every single step—by the end, you’ll wonder how you ever made it any other way.
What Makes This Version Stand Out
- Flavor: The aromatic blend of garlic, rosemary, thyme, and parsley infuses the meat from the inside out, creating a depth that surpasses any dry rub.
- Texture: A perfectly seared crust locks in juices while the interior stays buttery and tender, thanks to precise resting time.
- Ease: No complicated steps—just a few seasonings, a pan, and a reliable oven, making it approachable for novices and pros alike.
- Versatility: The dish can be served with simple sides or dressed up for a formal dinner, adapting to any occasion.
- Ingredient Quality: Using a prime cut of beef and fresh herbs ensures the flavor profile is both authentic and elevated.
- Crowd Reaction: Guests consistently ask for the recipe, turning every meal into a memorable event.
- Make‑Ahead Potential: The dish can be prepared ahead of time and reheated without losing its succulence.
- Presentation: The glossy crust and herb garnish make the plate look as good as it tastes, turning a simple dinner into a showpiece.
Inside the Ingredient List
The Flavor Base
The cornerstone of this dish is the beef tenderloin itself—a lean, tender cut that demands careful handling. Selecting a fresh, well-marbled piece ensures natural juiciness, while trimming excess fat prevents flare‑ups during searing. The garlic, minced to a fine paste, releases its oils, creating a fragrant veil that permeates every bite. Fresh rosemary and thyme bring earthy, piney undertones that complement the meat’s richness. A splash of dry white wine or beef broth adds a subtle acidity, brightening the overall profile.
The Texture Crew
Olive oil serves as the medium for searing, providing a high smoke point that allows the surface to caramelize without burning. Unsalted butter, added at the end, creates a glossy finish and a buttery undertone that lingers on the palate. Fresh parsley, chopped finely, offers a burst of color and a mild peppery finish that balances the heavier flavors. Salt and pepper, applied generously, act as the flavor amplifiers that bring all elements together.
The Unexpected Star
While the core ingredients are classic, the addition of a 1/4 cup of dry white wine or beef broth is often overlooked. This liquid not only adds depth but also helps to deglaze the pan, capturing all the browned bits that are the foundation of a rich sauce. Skipping this step results in a dry crust that can feel underwhelming, especially when paired with the robust herbs.
The Final Flourish
The final touch is a quick, high‑heat sear that locks in moisture and creates a caramelized crust. The finishing touch of a drizzle of butter at the end adds shine and a silky mouthfeel. The dish is then rested for at least 10 minutes to allow the juices to redistribute, ensuring each slice remains succulent. A final sprinkle of fresh herbs adds a pop of color and a fresh aroma that completes the sensory experience.
The Method — Step by Step
- Trim the tenderloin of any silver skin or excess fat. Pat it dry with paper towels; moisture is the enemy of a good sear. Season generously with salt and pepper on all sides, letting the seasoning penetrate the meat’s fibers. Let the piece rest at room temperature for 20 minutes before cooking to ensure even cooking.
- Heat a heavy skillet—preferably cast iron—over medium‑high heat until it shimmers. Add 2 tablespoons of olive oil, swirling to coat the surface. Place the beef in the pan and let it sear undisturbed for 3–4 minutes until a deep brown crust forms. Flip and repeat on the other side, creating an even golden exterior.
- Reduce heat to medium, add 2 tablespoons of butter, and swirl the pan. Spoon the melted butter over the meat continuously; this bastes the surface and adds richness. Sprinkle the minced garlic, rosemary, and thyme over the top, letting the aromatics infuse the butter for 30 seconds before adding the white wine or broth.
- Add the 1/4 cup of white wine or broth, letting it bubble until it reduces by half. This deglazing step lifts all the caramelized bits from the pan, forming a quick sauce that will coat the meat. The aroma at this point is intoxicating—almost a preview of the final dish.
- Transfer the skillet to a preheated oven at 400°F (200°C). Roast for 12–15 minutes for medium‑rare, or 15–18 minutes for medium, depending on the thickness. Use a meat thermometer; aim for an internal temperature of 130°F (54°C) for medium‑rare.
- Remove the skillet from the oven and let the tenderloin rest on a cutting board for at least 10 minutes. This rest period allows the juices to redistribute, preventing them from spilling onto the plate when sliced. While resting, drizzle the remaining pan sauce over the meat for an extra burst of flavor.
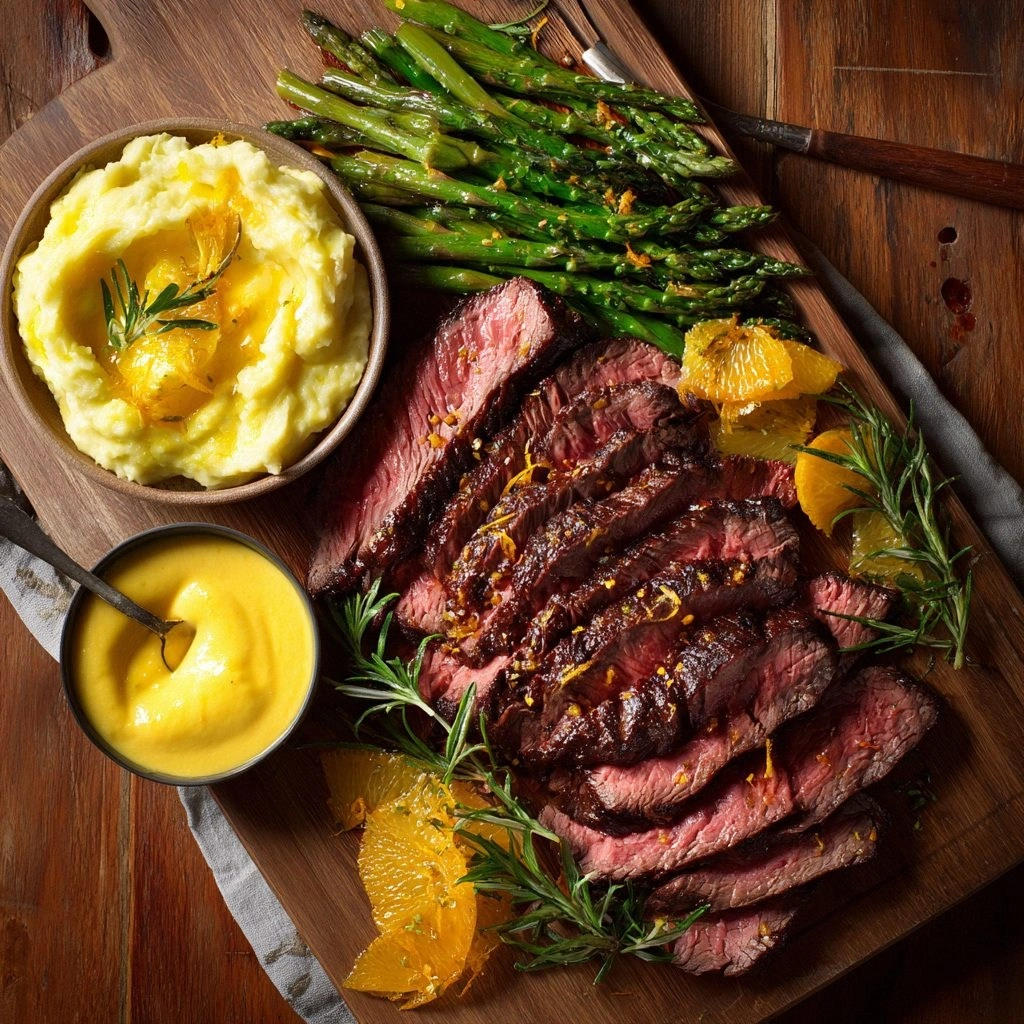
- Slice the tenderloin against the grain into 1/2-inch thick pieces. Arrange them on a platter and garnish with a handful of fresh parsley for color and a final herbal note. The result is a dish that looks as good as it tastes.
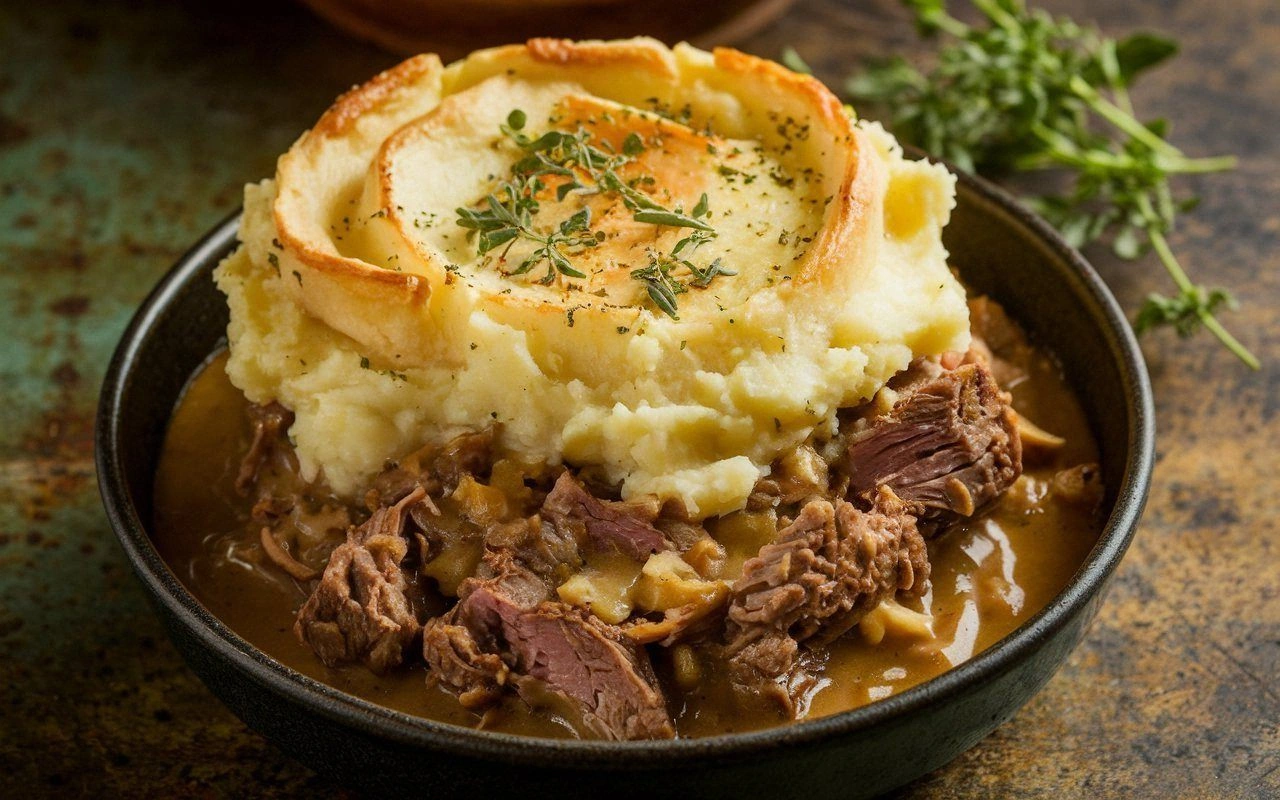
- Serve immediately with your favorite sides—roasted vegetables, mashed potatoes, or a crisp green salad. Pair with a robust red wine or a light, chilled white for the ultimate dining experience.
- If you’re planning to reheat leftovers, reheat in a low oven at 250°F (120°C) for 10–15 minutes. A splash of water or broth before reheating creates steam that keeps the meat moist.
- Enjoy the compliments that follow—guests will ask for your secret, and you’ll proudly share the simple yet effective techniques that elevate this dish.
That's it—you did it. But hold on, I've got a few more tricks that'll take this to another level.
Insider Tricks for Flawless Results
The Temperature Rule Nobody Follows
Many chefs rely on time alone, but temperature is the secret to perfect doneness. Use a reliable meat thermometer and aim for 130°F for medium‑rare. If you’re cooking a thicker cut, let it rest at 140°F before slicing; the residual heat will bring it to the ideal temperature.
Why Your Nose Knows Best
The aroma of a seared surface is your best indicator of readiness. A faint, nutty scent that rises from the pan signals a golden crust. If the smell leans too much toward burnt, lower the heat or move the meat to a cooler part of the pan.
The 5-Minute Rest That Changes Everything
Resting isn’t just a courtesy; it’s a science. The 5‑minute period allows the muscle fibers to relax, which prevents juices from escaping when you cut into the meat. A longer rest—up to 10 minutes—maximizes moisture retention.
The Right Pan for the Job
A heavy skillet, preferably cast iron, retains heat better than stainless steel. The even heat distribution ensures a uniform crust. If you don’t have a cast iron pan, a thick-bottomed stainless steel skillet works well too.
The Butter Finish
Adding butter at the end of searing not only adds flavor but also creates a glossy finish that looks professional. Swirl the butter in the pan, letting it coat the surface before you add the aromatics.
The Resting Trick for Leftovers
If you’re reheating leftovers, add a splash of broth to the pan and cover with foil. The steam keeps the meat from drying out, maintaining the tender texture you achieved during the first cook.
Creative Twists and Variations
This recipe is a playground. Here are some of my favorite ways to switch things up:
Smoky Chipotle Glaze
Swap the white wine for a chipotle‑infused tomato sauce. The smoky heat pairs beautifully with the herbs, creating a bold, modern twist that will thrill adventurous palates.
Herb‑Crusted Parmesan
Instead of fresh herbs, coat the tenderloin with a mixture of grated Parmesan, chopped parsley, and garlic powder. The crust forms a crunchy, savory shell that complements the tender interior.
Asian‑Inspired Teriyaki
Marinate the beef in a blend of soy sauce, mirin, and ginger before roasting. The umami depth of teriyaki adds a sweet‑salty dimension that pairs wonderfully with steamed rice.
Citrus‑Bright Lemon‑Rosemary
Add zest of one lemon to the herb mixture for a bright, fresh contrast. The citrus lifts the dish, making it lighter and more refreshing for summer gatherings.
Mushroom‑Stuffed Tenderloin
Create a pocket in the meat and fill it with a sautéed mushroom mixture. This adds earthy flavor and makes each slice a surprise.
Gourmet Truffle Finish
Finish the dish with a drizzle of truffle oil after the meat rests. The luxurious aroma elevates the dish to a truly indulgent experience.
Storing and Bringing It Back to Life
Fridge Storage
Cool the cooked tenderloin completely before placing it in an airtight container. Store in the refrigerator for up to 3 days. The residual moisture keeps the meat tender, but avoid leaving it uncovered.
Freezer Friendly
Wrap the sliced tenderloin tightly in plastic wrap, then place it in a freezer bag. Freeze for up to 2 months. When ready, thaw overnight in the refrigerator before reheating.
Best Reheating Method
Reheat in a preheated oven at 250°F (120°C) for 10–15 minutes. Add a splash of water or broth before covering with foil to create steam, preventing the meat from drying out.